
 Distribution PL · 4REF
Wipcool C40T user manual
Read the entire manual before first use. Keep it for as long as you use the device.
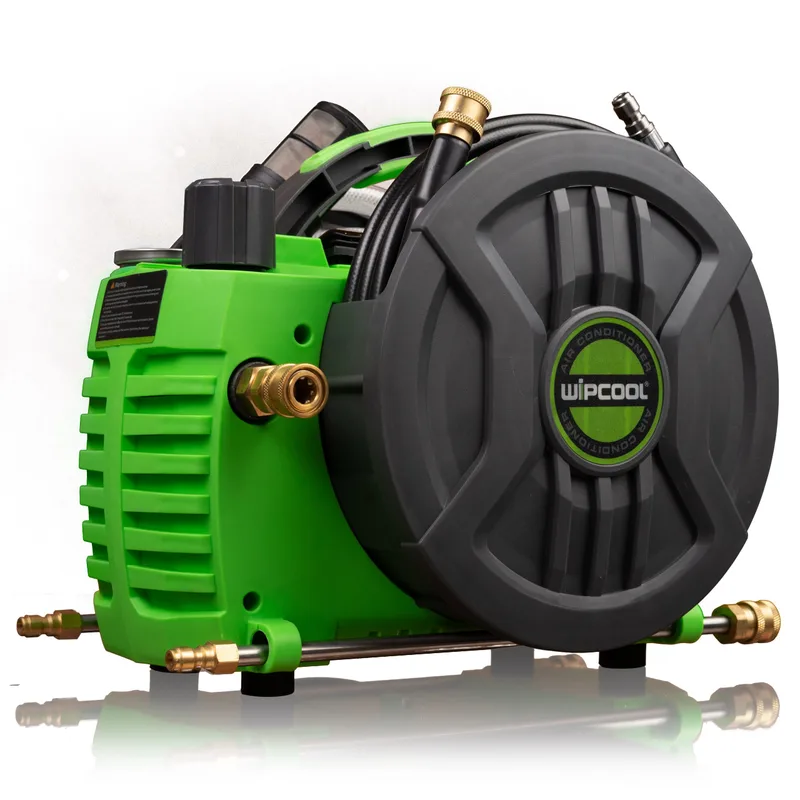
Wipcool C40T user manual
The Wipcool C40T pressure washer is designed to clean air conditioners and refrigeration equipment at adjustable pressure. The pump has a self-priming function and an automatic stop function.
The user manual is an integral part of the product. Please read this manual carefully and follow all instructions closely.
General information
Wipcool products are designed for professional use by qualified air conditioning and refrigeration engineers. As the manufacturer, Wipcool specifies that our equipment should be operated only by suitably qualified and trained personnel.
- ■Observe all local safety regulations and general safety standards when using the Wipcool C40T pressure washer.
- ■The user manual should be kept near the device so that personnel can access it easily at all times.
- ■Before use, qualified personnel should read the user manual carefully and understand all instructions contained in it.
- ■The manufacturer accepts no liability for any damage resulting from improper use, failure to follow the user manual, lack of personnel qualifications or any unauthorised modifications to the device.
- ■The general terms and conditions of sale contained in the sales documents apply.
Symbols and conventions
Signs and markings used on the device and in the manual:
- 01
 Warning - read the text in the box next to the symbol.
- 02
 Dangerous voltage - risk of electric shock.
- 03
 Warning of fire or explosion near flammable materials.
- 04
 Wear eye protection.
- 05
 Wear protective gloves.
- 06
 Notice - risk of damage to the device or an incorrect result.
- 07
 Indicates that the product meets the health, safety and environmental standards applicable in the European Union.
- 08
 Do not dispose of the pressure washer with household waste.
Safety information
Use the manufacturer's original accessories.
Technical specifications
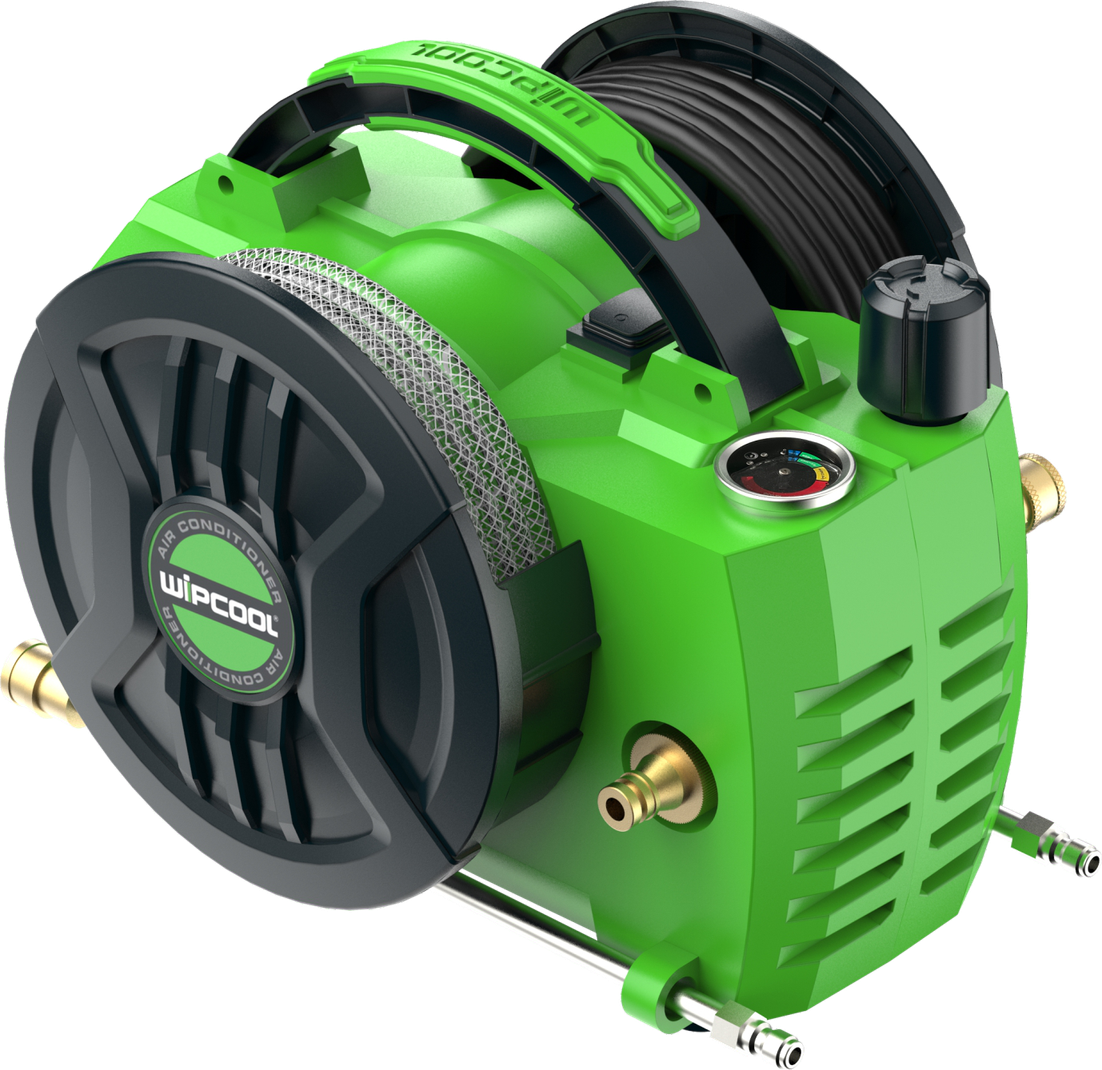
Device diagram
The pressure adjustment knob (black) is used to set the pressure, and the pressure gauge shows its value. The switch (red button) turns the pressure washer on and off.
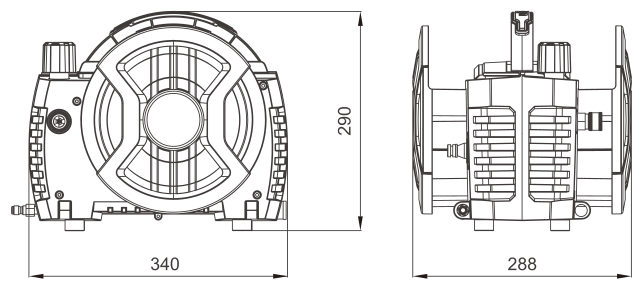
Device dimensions
Contents
C40T pressure washer and the following accessories:
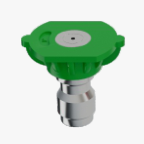
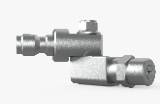
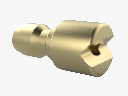
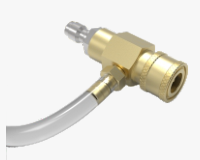
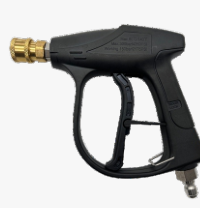
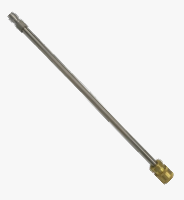
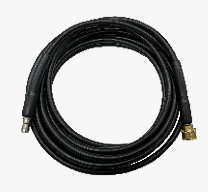
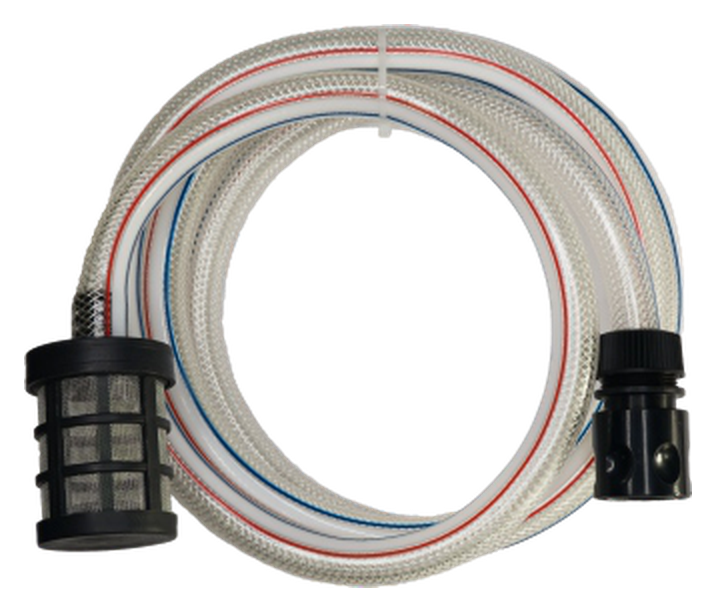
After unpacking, check that the set is complete and in good condition. Report any missing items or transport damage to the seller.
Transport and storage
Protect the pressure washer from frost. Water frozen in the pump can damage the head and motor.
Intended use
The pressure washer is designed to clean indoor and outdoor units of split systems, commercial air conditioning equipment, central air conditioning systems and refrigeration equipment.
Connection
Pre-start checks
Before each use, check the condition of the pressure washer and accessories, power cord, inlet filter mesh and spray gun head. Also check that everything is correctly assembled and connected.
Bleeding air
- 01Connect the inlet hose and high-pressure hose to the corresponding connections on the pressure washer. The quick-release coupling should lock with an audible click; check that the connections are secure. Leave the spray gun disconnected from the high-pressure hose.
- 02Immerse the inlet filter at the end of the inlet hose in a container of clean water or connect the water supply to a tap.
- 03Plug into the socket and turn on the pressure washer using the switch. Wait until water flows from the high-pressure hose in a steady stream.
- 04Turn off the pressure washer and unplug it. Once the pressure gauge reads zero, connect the spray gun to the high-pressure hose.
Instructions for use
Cleaning with water
- 01After connecting the pressure washer and bleeding the air, fit the 0° pinpoint nozzle or the 220° rotating nozzle. Adjust the spray pattern of the rotating nozzle by turning its tip to the left or right.
- 02Plug into the socket and turn on the pressure washer using the switch. Use the pressure adjustment knob to set a pressure suitable for the indoor or outdoor unit being cleaned, then wash the coil.
Cleaning with cleaning agent
Use a separate container, the 1:3 dispenser and the foam nozzle to apply cleaning agent. Connect the dispenser at the pressure washer outlet.
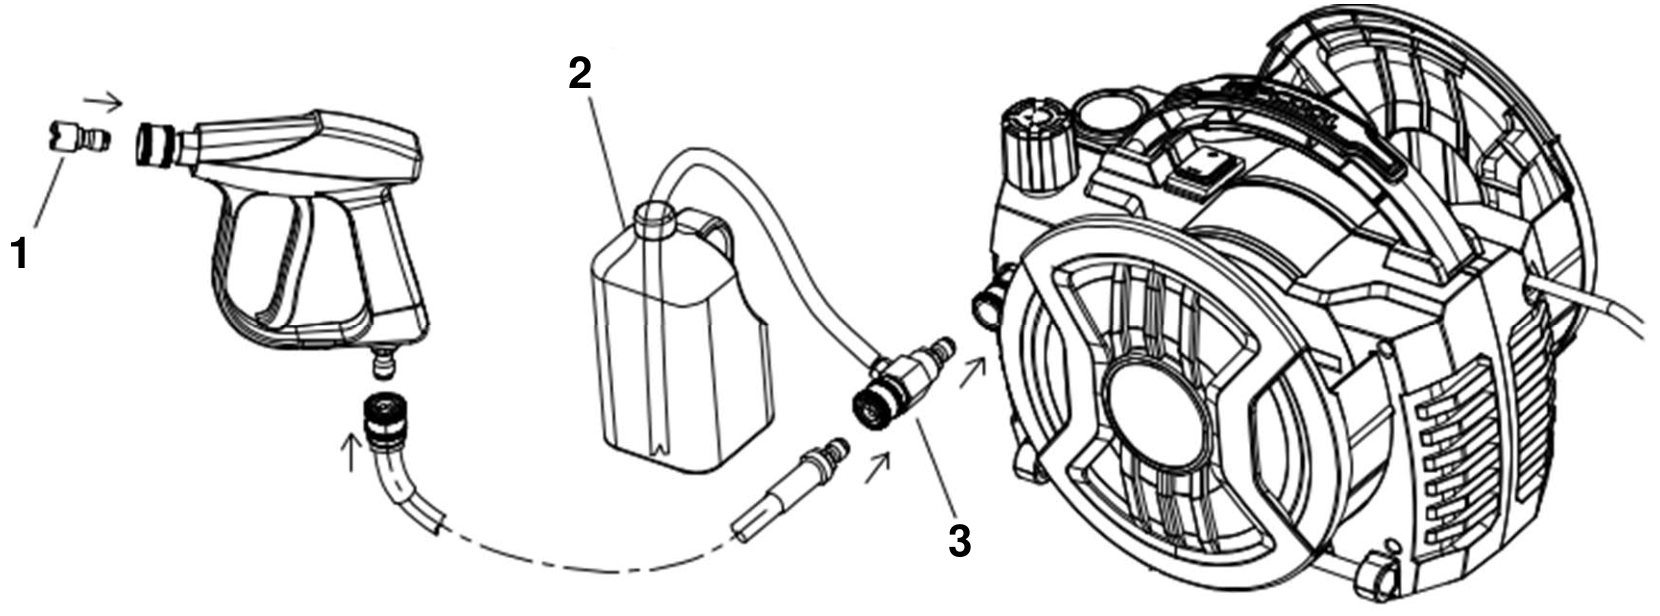
1. Foam nozzle; 2. Cleaning agent container; 3. 1:3 dispenser.
Diluting the cleaning agent
To obtain a ratio other than 1:3, first dilute the agent with clean water, then use the dispenser. The table shows the amount of water to add to 1 l of coil cleaner.
| Ratio | Water added to 1 l of agent |
|---|---|
| 1:4 | 0.25 l |
| 1:5 | 0.50 l |
| 1:6 | 0.75 l |
| 1:7 | 1.00 l |
| 1:8 | 1.25 l |
| 1:9 | 1.50 l |
| 1:10 | 1.75 l |
Connecting and applying the cleaning agent
- 01Prepare the pressure washer for changing accessories as instructed in the warning at the start of this section. Disconnect the high-pressure hose from the pressure washer outlet and connect the dispenser in its place.
- 02Connect the high-pressure hose to the dispenser and insert the dispenser's thin tube into the cleaning agent container.
- 03Fit the foam nozzle to the spray gun. Plug into the socket and turn on the pressure washer using the switch.
- 04Use the pressure adjustment knob to set a pressure suitable for the indoor or outdoor unit being cleaned and apply the agent to the coil.
- 05Turn off the pressure washer and unplug it from the socket. Press the spray gun trigger to release the pressure in the high-pressure hose. Wait until the pressure gauge reads zero.
- 06Disconnect the dispenser and connect the high-pressure hose directly to the pressure washer.
- 07Remove the foam nozzle and wash it with clean water. Fit the 0° pinpoint nozzle or the 220° rotating nozzle to the spray gun.
- 08Plug into the socket, turn on the pressure washer using the switch and rinse the coil with clean water.
Finishing work
- 01Turn off the pressure washer using the switch and unplug it from the socket.
- 02Press the spray gun trigger to release the pressure in the high-pressure hose. When the pressure gauge reads zero, disconnect the high-pressure hose.
- 03Disconnect the inlet hose and drain the water from the hoses before storing the pressure washer.
Maintenance
Clean the inlet filter regularly to prevent the inlet from becoming blocked.
If the spray gun is damaged, stop using it. Have it repaired by the service team - submit a request at wipcool.pl/serwis.
Troubleshooting
Before checking connections, replacing the seal (O-ring) or cleaning the inlet filter, turn off the pressure washer and unplug it. Press the spray gun trigger to release the pressure in the high-pressure hose. Wait until the pressure gauge reads zero.
| Problem | Possible cause | Solution |
|---|---|---|
| Pressure washer does not start | No power supply | Check the power supply, switch and power cord connection. |
| Pressure washer does not start | Incorrect voltage | Check that the input voltage is within ±5% of the rated voltage. |
| Pressure washer does not start | Ambient temperature too low | Turn off the pressure washer. Use it at an ambient temperature above 0 °C. |
| Pressure is too low | Air in the inlet hose | After releasing the pressure, disconnect the spray gun from the high-pressure hose. Bleed the system as described in ‘Bleeding air’ under ‘Connection’. |
| Pressure is too low | Blocked water inlet | Clean the inlet filter. |
| Pressure is too low | Debris inside the device | Have it repaired by the service team - submit a request at wipcool.pl/serwis. |
| Water leak | Leaking connection | Check the connection, including the inlet hose connection. Disconnect and reconnect the leaking quick-release coupling. |
| Water leak | Damaged seal (O-ring) | Replace the seal. |
| Noise during operation | Air being drawn in | Check the water level in the container and the position of the inlet hose. |
| Noise during operation | Damaged internal parts | Turn off the pressure washer and disconnect it from the power supply. Have it repaired by the service team - submit a request at wipcool.pl/serwis. |
Waste electrical and electronic equipment
- 01The crossed-out bin symbol means that the device must not be disposed of with other waste at the end of its life.
Under applicable regulations on waste electrical and electronic equipment, products marked with the separate collection symbol must not be disposed of with other municipal waste. Because they contain hazardous substances, electronic products that are not sorted separately may be dangerous to the environment and human health. Proper separate collection of waste electrical and electronic equipment prevents adverse effects on the environment.
By taking waste equipment to a collection point, the user contributes to its reuse, recycling and recovery.
Recycling - one method of protecting the environment. The process of recovering substances from waste that can be reused as raw materials.
Waste recovery - the use of waste that has lost its useful value, such as plastics, paper and cardboard, as secondary raw materials (also commonly used to mean its destruction).
Information on the collection system for waste electrical and electronic equipment
- ■Waste electrical and electronic equipment must not be disposed of together with other waste.
- ■The collection of incomplete electrical and electronic equipment and parts from waste equipment is prohibited.
- ■A distributor delivering equipment intended for households to a purchaser must collect waste household equipment free of charge at the place of delivery, provided that the waste equipment is of the same type and performs the same function as the equipment supplied.
- ■The user may hand over waste equipment to a waste equipment collector, a treatment facility or a municipal waste collector in the municipality.
- ■Information about collection points is available on the BIP public information websites of regional, city and municipal authorities.
Service and documents
Before submitting a service request, have the following ready:
- ■Model - shown on the device's rating plate and on the invoice.
- ■Serial number - if absent, provide the production number (e.g. 11/2025), usually found on the underside of the device.
- ■Proof of purchase - an invoice or receipt from an authorised distributor.
- ■Description of the fault - what is happening, since when and under what conditions.
You can submit a service request at wipcool.pl/serwis. You will also find the warranty terms there.