
 Distribution PL · 4REF
Wipcool AVC150 user manual
Read the entire manual before first use. Keep it for as long as you use the device.
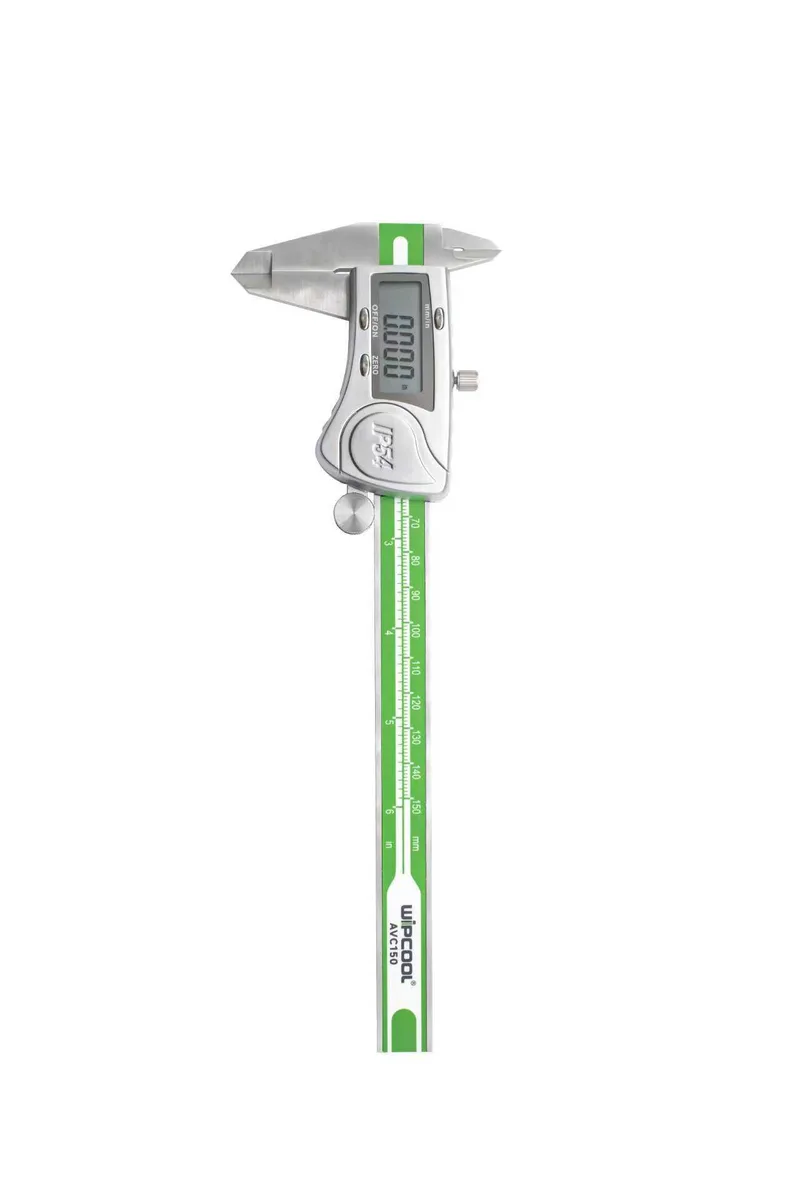
Wipcool AVC150 user manual
The Wipcool AVC150 Digital Caliper is used for external, internal and depth measurements. The measuring range is up to 150 mm.
The user manual is an integral part of the product. Please read this manual carefully and follow all instructions closely.
General information
Wipcool products are designed for professional use by qualified air conditioning and refrigeration engineers. As the manufacturer, Wipcool stipulates that our equipment should only be operated by suitably qualified and trained personnel.
- ■Observe all local safety regulations and general safety standards when using the Wipcool AVC150 Digital Caliper.
- ■The user manual should be kept near the device so that personnel can easily access it at all times.
- ■Before use, qualified personnel should read the user manual carefully and understand all the instructions it contains.
- ■The manufacturer accepts no liability for any damage resulting from improper use, failure to follow the user manual, lack of personnel qualifications or any unauthorised modifications to the device.
- ■The general terms of sale contained in the sales documents apply.
Symbols and conventions
Symbols and markings used on the device and in the manual:
- 01
 Notice - risk of damage to the device or an incorrect result.
- 02
 Do not dispose of the caliper with household waste.
Safety information
Do not disassemble the slider or the electronics.
Technical specifications
Device diagram
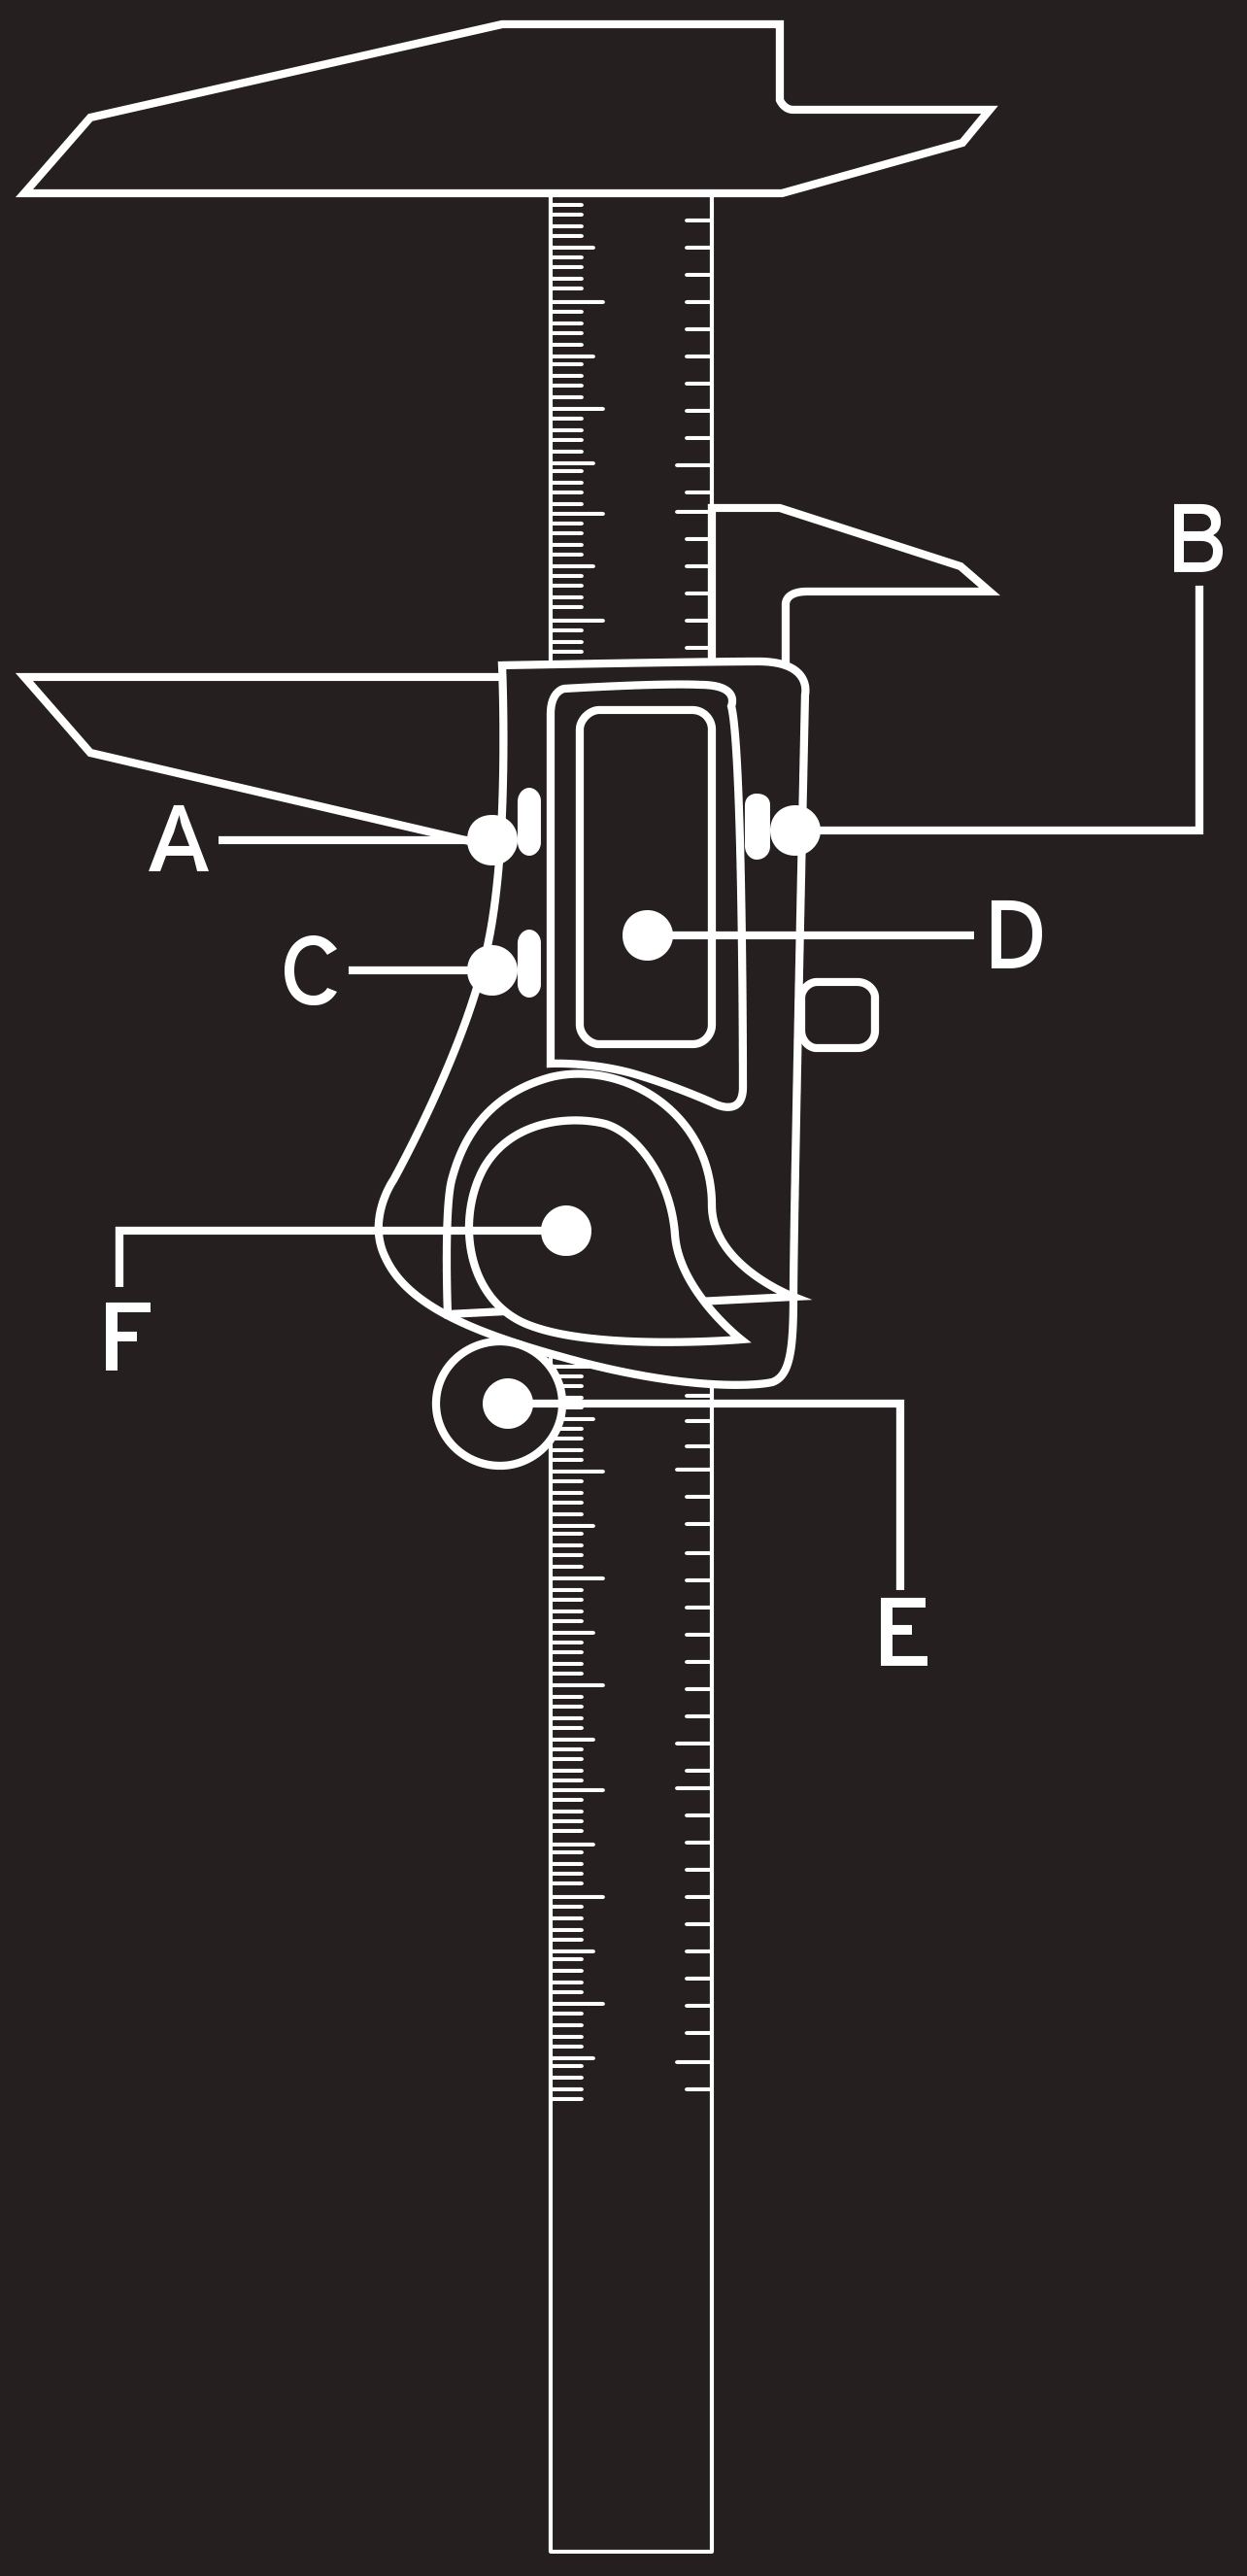
Buttons
| Label | Component and function |
|---|---|
| A | ON/OFF button - switches the caliper on and off. |
| B | mm/inch button - selects the unit: millimetres or inches. |
| C | ZERO button - resets the reading to zero. |
Other components
| Label | Component and function |
|---|---|
| D | Five-digit LCD display. |
| E | Slider thumbwheel. |
| F | Battery compartment cover. |
Package contents
After unpacking, check that the set is complete and in good condition. Report any missing or damaged items to the seller.
| Item | Quantity |
|---|---|
| AVC150 digital caliper | 1 pc. |
| CR2032 3 V battery | 1 pc. |
| Screwdriver for the battery compartment cover | 1 pc. |
Storage
Store the caliper at -20 to +70 °C.
If the caliper will not be used for an extended period, remove the battery and store it separately.
How to use
Before first use, insert the battery as described in ‘Replacing the battery’ (see ‘MAINTENANCE’).
Preparation and zeroing
- 01Check that the jaws and depth rod are clean and that the slider moves smoothly. Wipe any dirty surfaces with a dry, lint-free cloth.
- 02Switch on the caliper using the A ON/OFF button. Close the large jaws and press C ZERO.
- 03Check that display D reads zero when the jaws are closed. If the reading is not zero, clean the jaws again and zero the caliper. If this does not help, carry out ‘Resetting the reading’ (see ‘MAINTENANCE’). Do not take a measurement until the reading is zero with the jaws closed.
- 04Select the unit using the B mm/inch button and check it on the display.
External measurement

- 01Use slider thumbwheel E to open the large jaws wider than the object being measured and place it between the jaws.
- 02Move the slider until the jaws touch the surfaces being measured. Read the result on display D.
Internal measurement
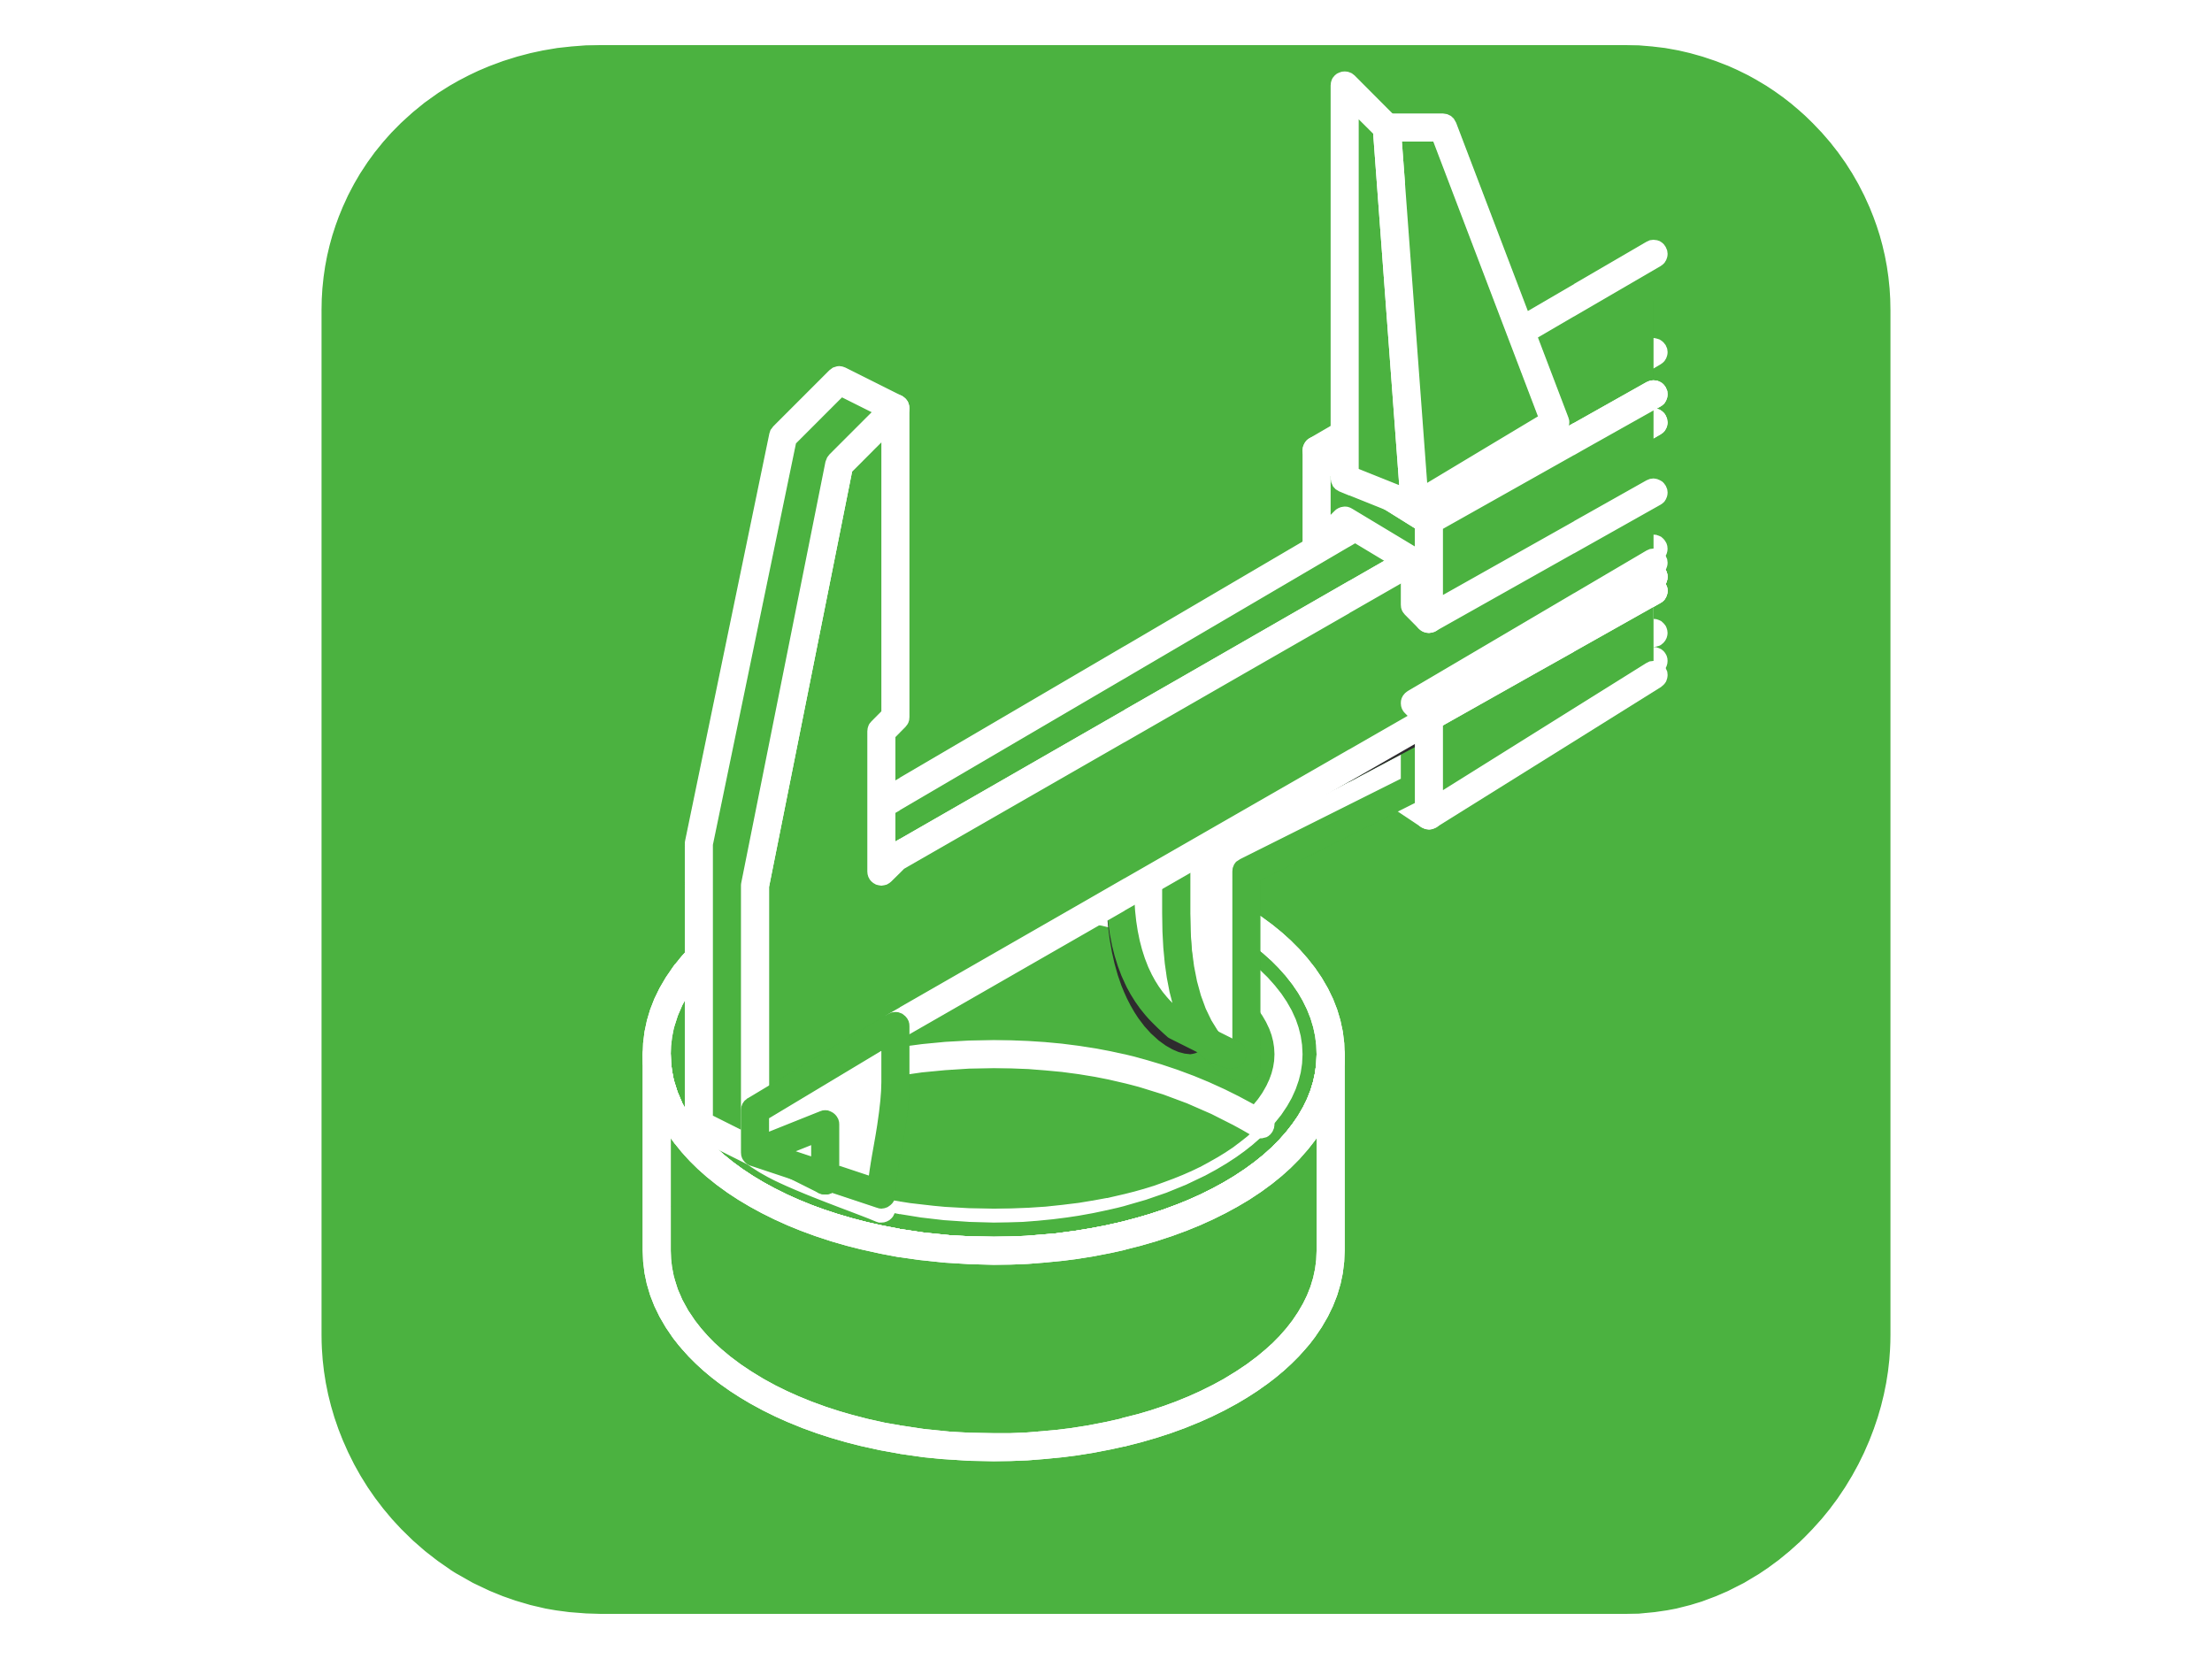
- 01Close the small jaws and insert them into the opening being measured.
- 02Open the jaws until they touch the internal surfaces and read the result on display D.
Depth measurement
- 01Place the end of the beam flat against the surface at the opening. Move the slider until the depth rod touches the bottom.
- 02Read the result on display D.
Finishing the measurement
Move the jaws or depth rod away from the measured surfaces, remove the caliper and switch it off using the A ON/OFF button.
Maintenance
Cleaning
Keep the caliper clean by wiping it periodically with a dry cloth.
Replacing the battery
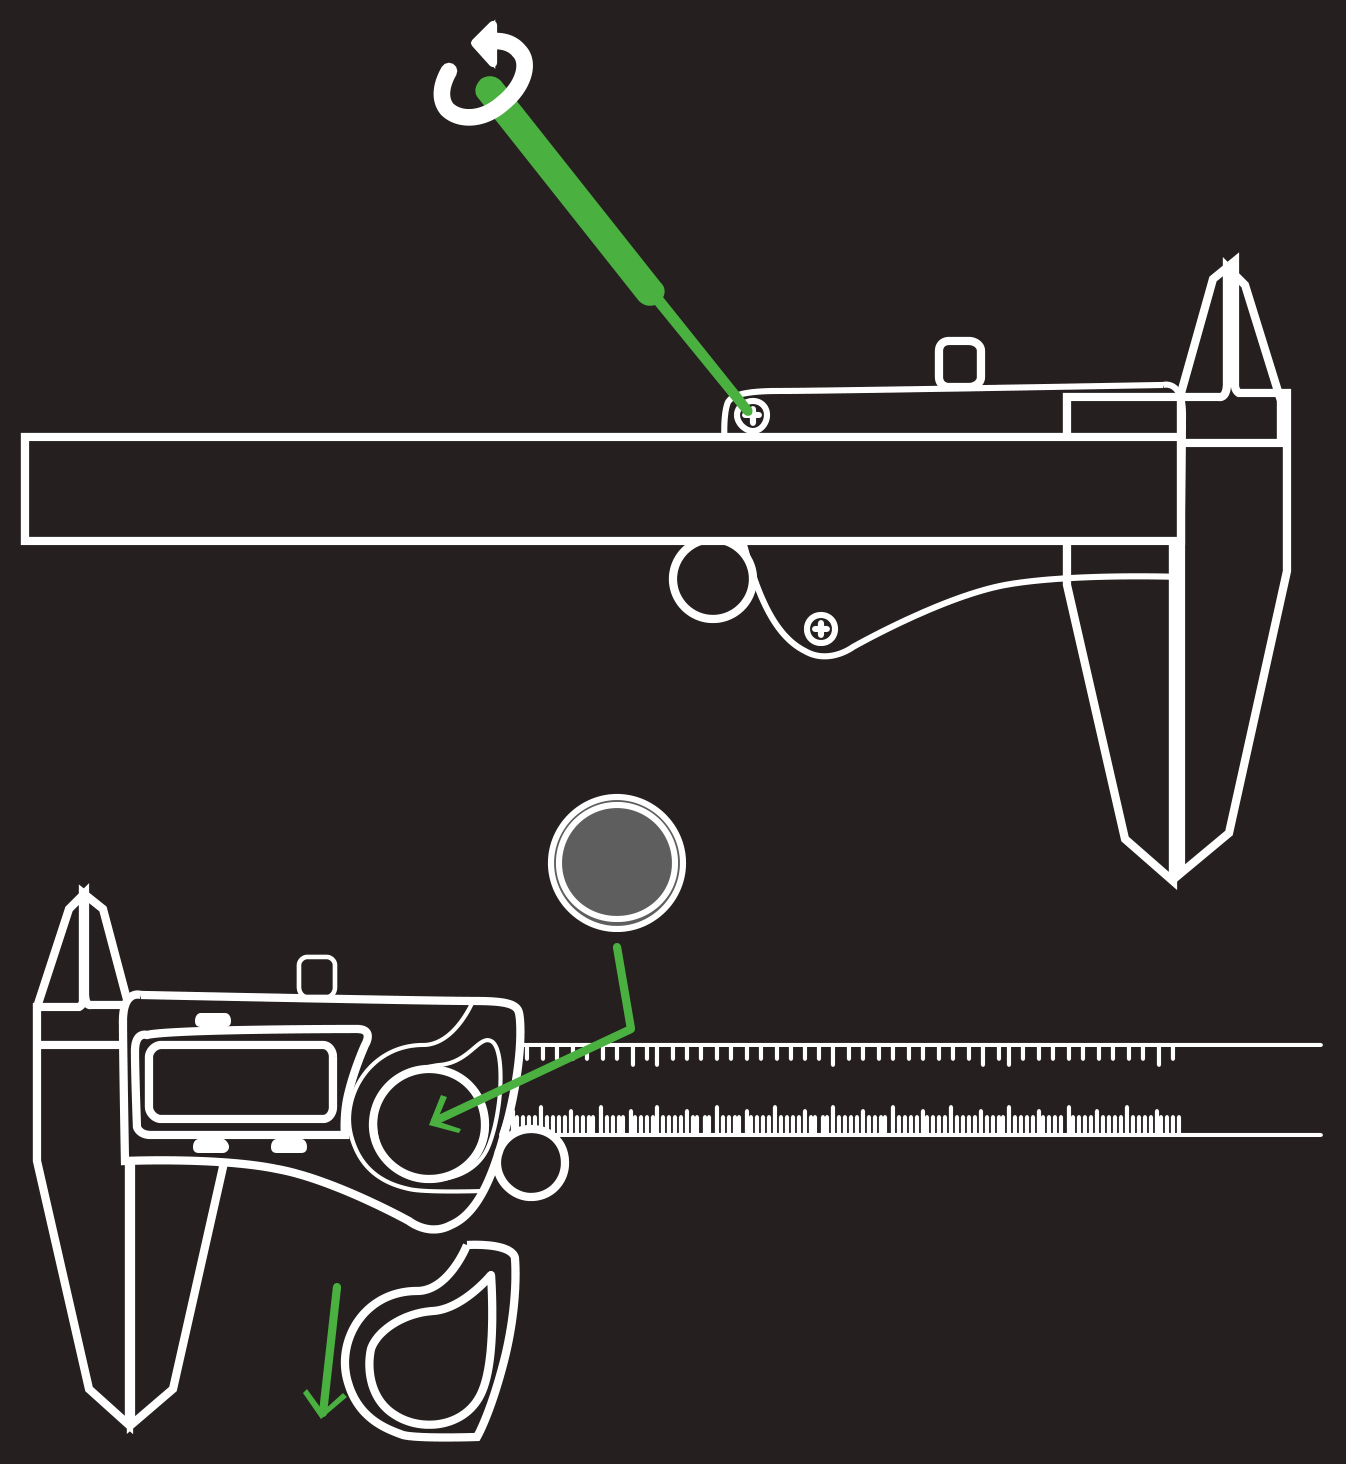
- 01Switch off the caliper using the A ON/OFF button. Unscrew the screw on battery compartment cover F using the supplied screwdriver and remove the cover.
- 02Remove the used battery and insert a new CR2032 3 V battery.
- 03Replace the battery compartment cover and tighten the screw.
Resetting the reading
- 01Switch off the caliper using the A ON/OFF button. Unscrew the screw on battery compartment cover F and remove the cover.
- 02Note the battery orientation and remove it. After 30 s, reinsert it in the same orientation.
- 03Replace the battery compartment cover and tighten the screw. Repeat the steps in ‘Preparation and zeroing’.
Repairs
Do not repair the slider or electronics yourself. Have them repaired by the service department - submit a request at wipcool.pl/serwis.
Troubleshooting
| Problem | Possible cause | Solution |
|---|---|---|
| All five digits change simultaneously every second | Battery voltage below 2.7 V | Replace the battery as described in ‘MAINTENANCE’. |
| The reading does not change when the slider is moved | Circuit malfunction | Follow the steps in ‘Resetting the reading’ under ‘MAINTENANCE’. |
| The display remains at 000.00 or IN 00.000 and does not respond to slider movement | Possible short circuit at the button contacts or contacts in the slider | Have the device repaired by the service department - submit a request at wipcool.pl/serwis. |
| The function buttons do not work | The springs or rubber covers may have become deformed due to excessive pressure | Have the device repaired by the service department - submit a request at wipcool.pl/serwis. |
| The reading error over the full length is at least 0.1 mm | Dirt or deposits on the sensor | Have the device repaired by the service department - submit a request at wipcool.pl/serwis. |
| No reading on the LCD display | Poor battery contact | Check the battery compartment and clean it if necessary. |
| No reading on the LCD display | Battery voltage below 2.5 V | Replace the battery with a CR2032 3 V battery. |
Waste electrical and electronic equipment
- 01The crossed-out bin symbol means that the used device must not be disposed of with other waste.
Under applicable regulations on waste electrical and electronic equipment, products marked with the separate collection symbol must not be disposed of with other municipal waste. Because they contain hazardous substances, electronic products that are not sorted separately may pose a risk to the environment and human health. Proper separate collection of waste electrical and electronic equipment prevents adverse effects on the environment.
By taking used equipment to a collection point, the user contributes to its reuse, recycling and recovery.
Recycling - one method of protecting the environment. The process of recovering substances from waste that can be reused as raw materials.
Waste recovery - the use of waste that has lost its useful value, such as plastics, paper and cardboard, as secondary raw materials (also commonly understood to include its destruction).
Information on the collection system for waste electrical and electronic equipment
- ■Waste electrical and electronic equipment must not be disposed of with other waste.
- ■The collection of incomplete electrical and electronic equipment and parts from waste equipment is prohibited.
- ■A distributor delivering equipment intended for household use to a purchaser must collect household waste equipment free of charge at the place of delivery, provided that the waste equipment is of the same type and performs the same function as the equipment delivered.
- ■The user may hand over waste equipment to a waste equipment collector, a treatment facility or a municipal waste collector operating in the municipality.
- ■Information on collection points is available on the Public Information Bulletin (BIP) websites of regional, city and municipal offices.
Service and documents
Before submitting a request, prepare:
- ■Model - shown on the device rating plate and on the invoice.
- ■Serial number - if there is none, provide the production number (e.g. 11/2025), usually found on the underside of the device.
- ■Proof of purchase - an invoice or receipt from an authorised distributor.
- ■Description of the fault - what is happening, since when and under what conditions.
You can submit a service request at wipcool.pl/serwis. You will also find the warranty terms there.
Warranty period: 1 year.