
 Distribution PL · 4REF
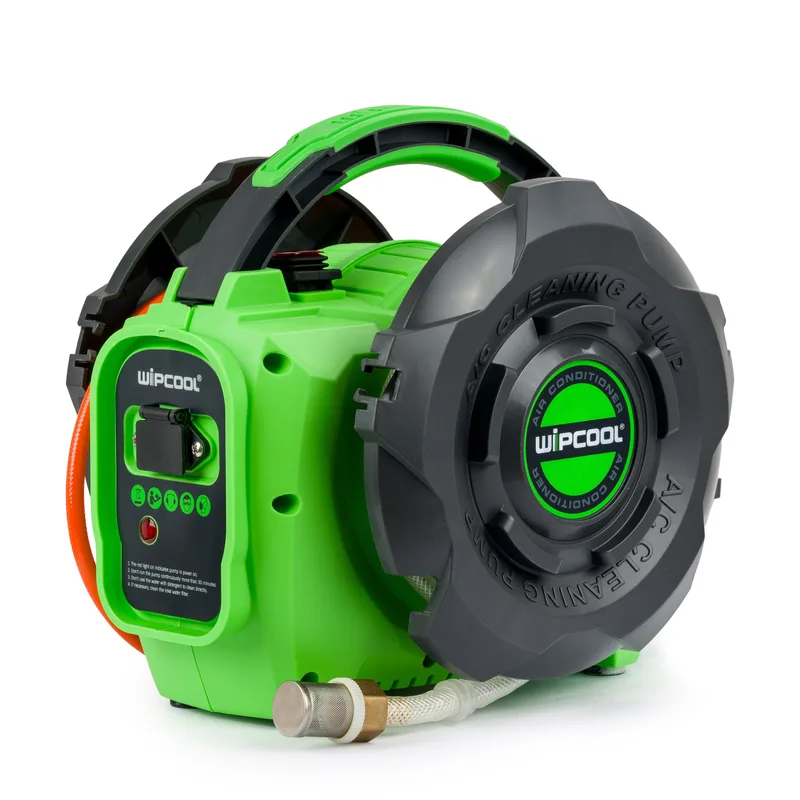
Wipcool C10 / C10B user manual
The Wipcool C10 and C10B pressure washers are designed for cleaning indoor and outdoor units of domestic air conditioners and small refrigeration units. They self-prime from a water tank, have two pressure settings and an automatic pump stop function.
The user manual is an integral part of the product. Please read this manual carefully and follow all instructions strictly.
General information
Wipcool products are designed for professional use by qualified air conditioning and refrigeration engineers. As the manufacturer, Wipcool stipulates that our equipment should only be operated by suitably qualified and trained personnel.
- ■Follow all local safety regulations and general safety standards when using the Wipcool C10 and C10B pressure washers.
- ■Keep the user manual near the device so that personnel can access it easily at any time.
- ■Before use, qualified personnel should read the user manual carefully and understand all the instructions it contains.
- ■The manufacturer accepts no liability for any damage resulting from improper use, failure to follow the user manual, lack of qualified personnel or any unauthorised modifications to the device.
- ■The general terms of sale contained in the sales documents apply.
Symbols and conventions
Symbols and markings used on the device and in the manual:
- 01
 Warning - read the text in the box next to the symbol.
- 02
 Dangerous voltage - risk of electric shock.
- 03
 Warning of fire or explosion.
- 04
 Notice - risk of damage to the device or incorrect results.
- 05
 Indicates that the product meets the health, safety and environmental standards applicable in the European Union.
- 06
 Do not dispose of the pressure washer with household waste.
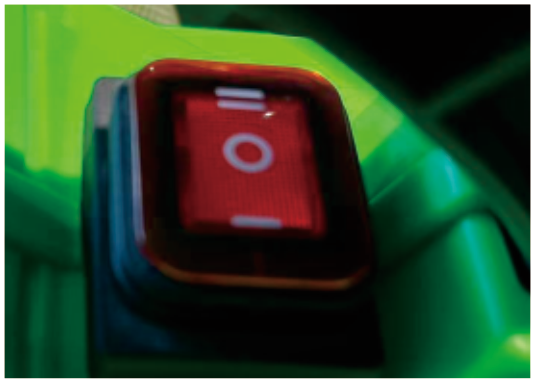
Pressure switch positions:
- ■‘-’ - switches the pressure washer on in low-pressure mode.
- ■‘=’ - switches the pressure washer on in high-pressure mode.
- ■‘O’ - switches the pressure washer off.
Safety information
- ■Use the manufacturer's original accessories.
- ■Do not direct the jet at objects that could be damaged by pressurised water.
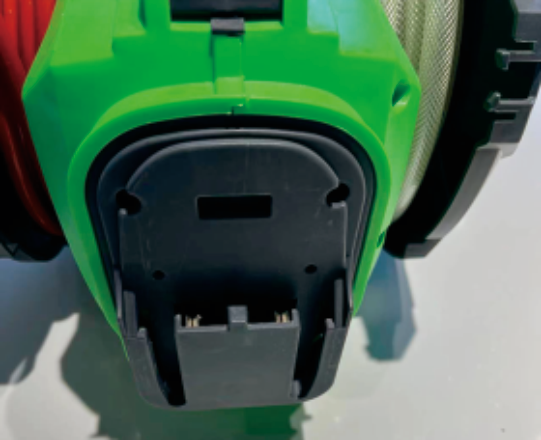
C10B battery socket
Protect the battery socket from impact.
Technical specifications
| Parameter | C10 | C10B |
|---|---|---|
| Power supply | 230 V~ / 50 Hz | 18 V DC, Li-ion battery |
| Protection class | II | III |
| Operating temperature | 5–50 °C | 5–50 °C |
| Motor power | 0.10 kW | 0.08 kW |
| Operating pressure - low | 3–5 bar | 3–5 bar |
| Operating pressure - high | 7–10 bar | 7–10 bar |
| Maximum flow rate | 4 l/min | 4 l/min |
| Max. suction lift | 1.5 m | 1.5 m |
| Weight | 3.5 kg | 3.5 kg without battery |
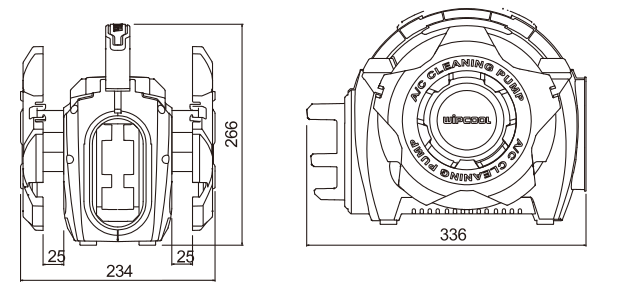
| Dimensions (L × W × H) | 336 × 234 × 266 mm | 336 × 234 × 266 mm |
| Inlet hose length | 2.5 m | 2.5 m |
| Outlet hose length | 5 m | 5 m |
C10B power supply
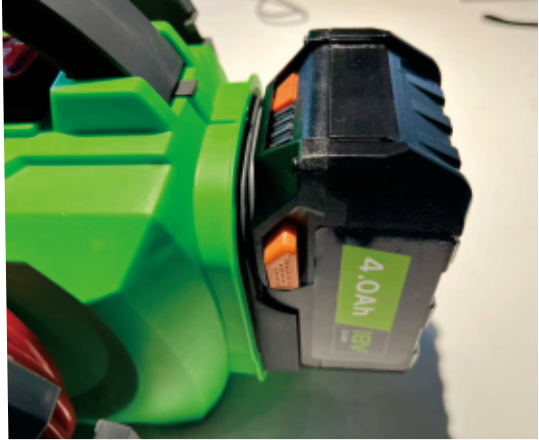
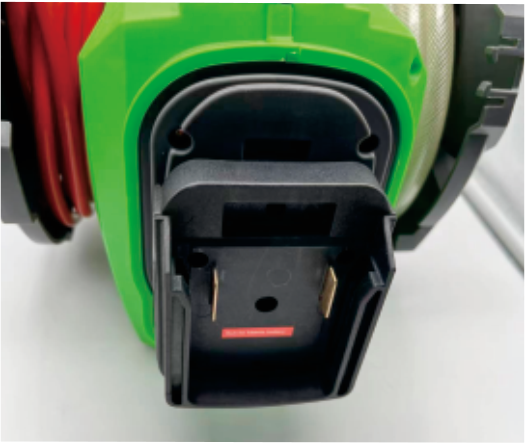
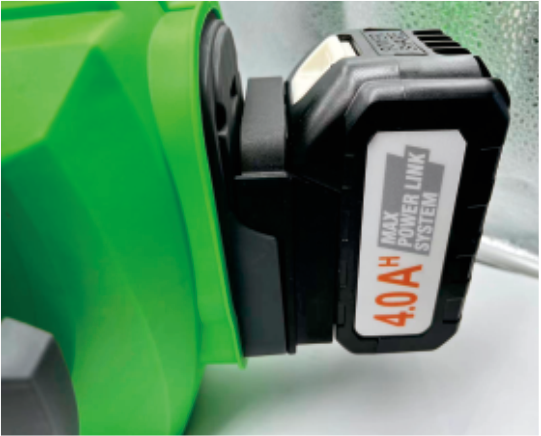
The C10B socket has an AEG/RIDGID 18 V interface. Suitable adapters are used for Bosch and Makita batteries. Adapters for DeWalt, Panasonic, Milwaukee and Worx batteries are available as an option.
| Parameter | C10B |
|---|---|
| Reference battery capacity | 4.0 Ah |
| Reference run time | 50–120 min |
The run time is stated for a 4.0 Ah Li-ion battery. The C10B is sold without a battery.
Device diagram
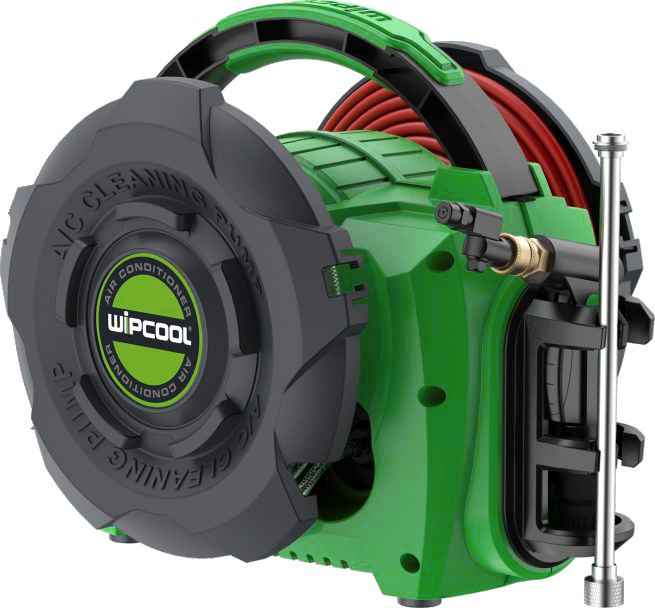
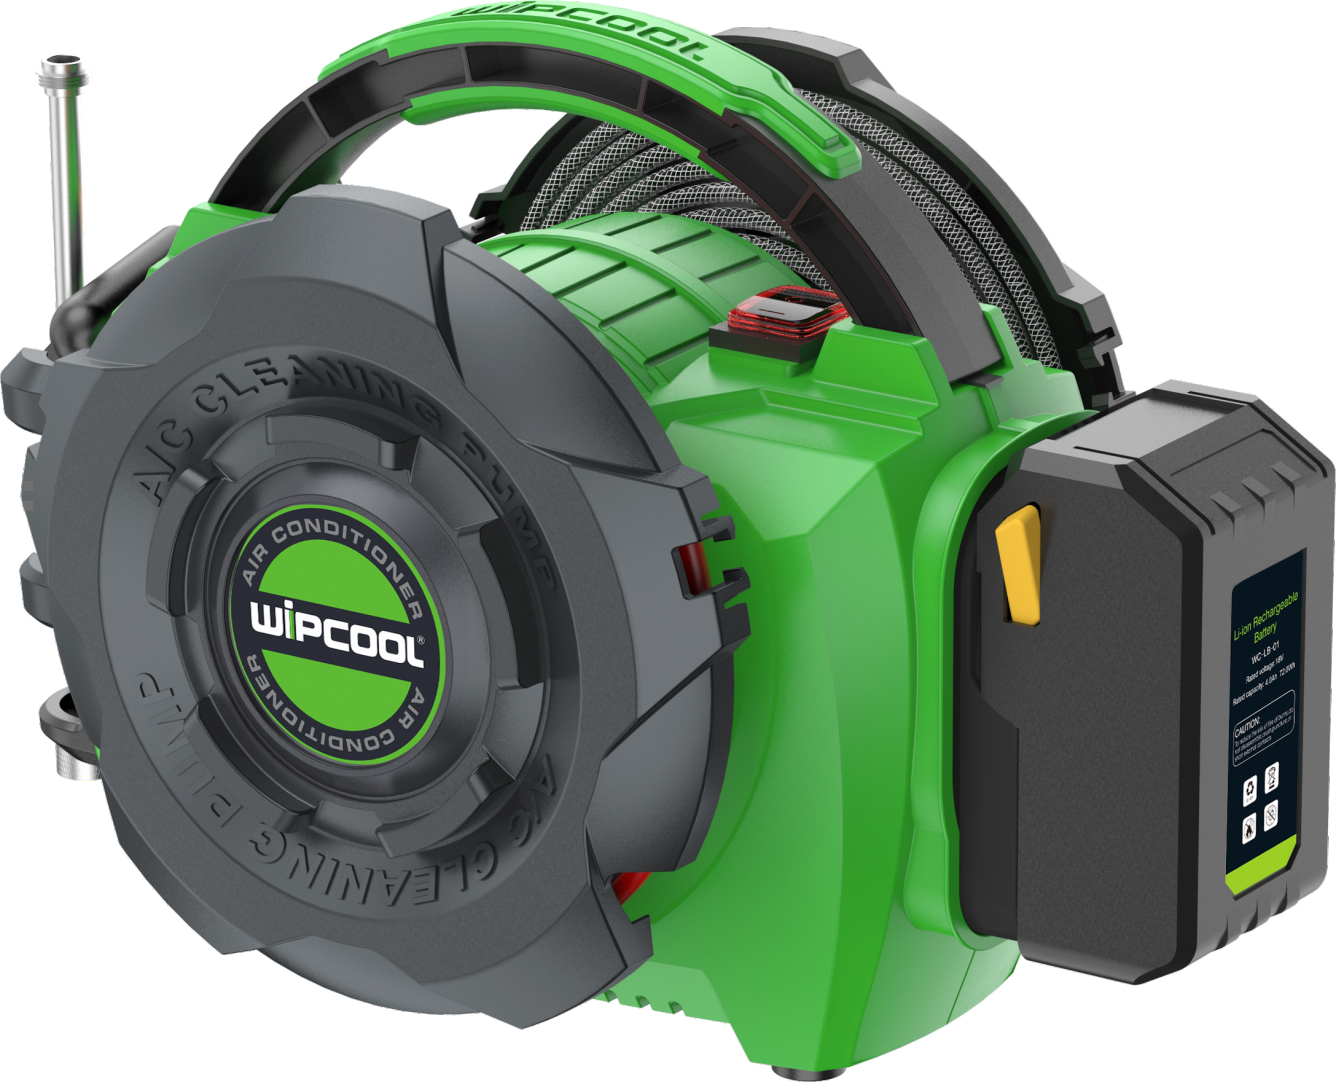
The pressure switch is on top of the housing, next to the carrying handle. The drum housing allows the inlet and outlet hoses to be wound up; a spray gun holder is located on the side.
C10 and C10B dimensions
Contents of the set
- ■C10 or C10B pressure washer with inlet hose and inlet filter, and outlet hose.
- ■Short spray gun.
- ■Rotating nozzle and 0° pinpoint nozzle.
- ■37 cm extension.
- ■C10: 1.8 m power cord.
- ■C10B: Bosch and Makita adapters.
After unpacking, check that the set is complete and in good condition. Report any missing items or transport damage to the seller.
Storage
Before storing the pressure washer, carry out the steps described in ‘Finishing work’. Store it at a temperature of 5–40 °C. Protect the pressure washer from frost. Water frozen in the pump can damage the head and motor.
Connection
Checks before starting
- 01Check the pressure washer and accessories. The C10 power cord must not be damaged.
- 02Check the condition of the inlet filter, nozzles and connectors, and check that the pressure washer and accessories are assembled correctly.
- 03Before connecting the power supply, set the pressure switch to the ‘O’ position.
C10 power supply
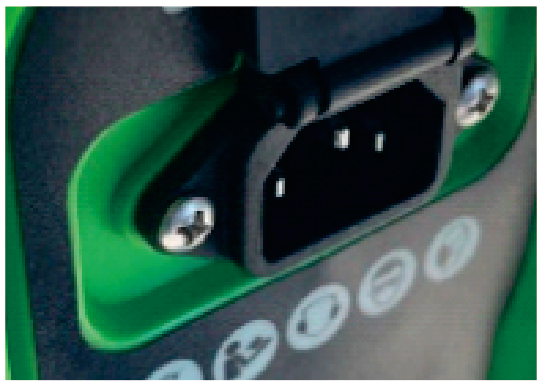
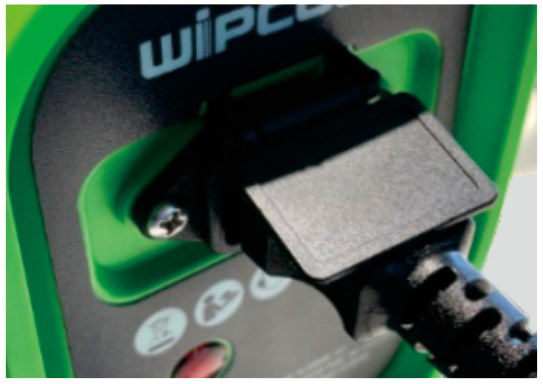
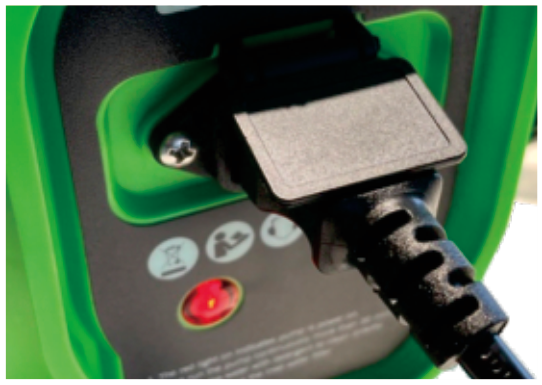
- 01Open the power cord socket cover and connect the cord to the pressure washer.
- 02Connect the plug to a 230 V power supply. The red indicator light shows that the power supply is connected.
C10B power supply
Connect an 18 V Li-ion battery to the AEG/RIDGID socket. For another brand, fit the appropriate adapter, then slide the battery into the adapter.
Bleeding air
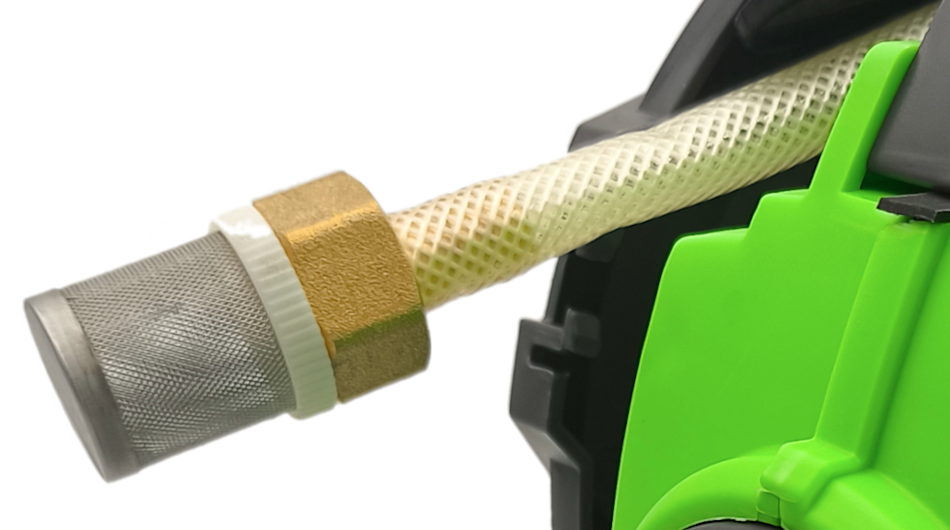
- 01Immerse the inlet filter at the end of the inlet hose in a tank of clean water. Leave the spray gun disconnected from the outlet hose.
- 02Set the pressure switch to ‘-’ or ‘=’ and run the pressure washer for a few seconds, until water flows evenly from the outlet hose.
- 03Set the pressure switch to ‘O’ and disconnect the C10 from the mains or remove the battery from the C10B.
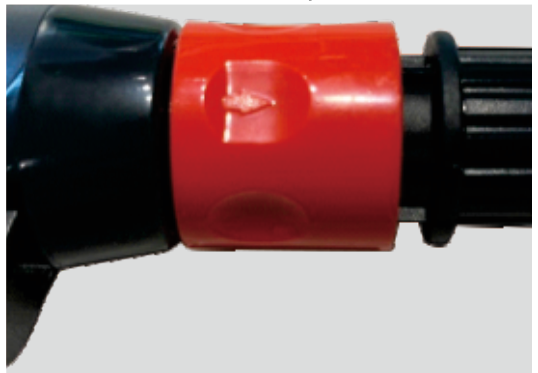
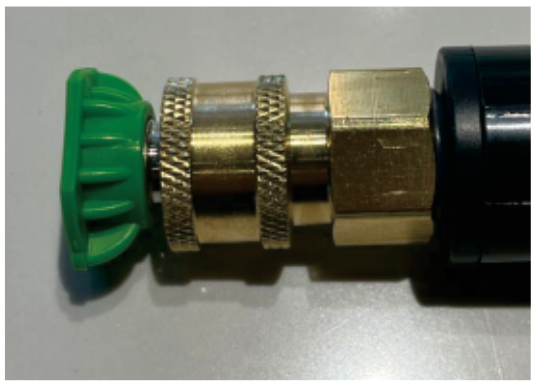
- 04Check that the seal (O-ring) is present and tighten the connector to prevent leaks. Connect the spray gun to the quick-release coupling on the outlet hose - a click indicates that the connection is locked.
- 05Fit the nozzle directly to the spray gun or connect them using the extension.
How to use
The rotating nozzle has a rotation range of 290°. Turn its tip left or right to set the 25° fan spray. A separate 0° pinpoint nozzle is used for a pinpoint jet.
- 01After connecting the spray gun and nozzle, reconnect the power supply to the pressure washer.
- 02Set the pressure switch to ‘-’ to clean the indoor unit in low-pressure mode (3–5 bar), or to ‘=’ to clean the outdoor unit in high-pressure mode (7–10 bar).
- 03Press the spray gun trigger to start spraying.
Spray gun and extension
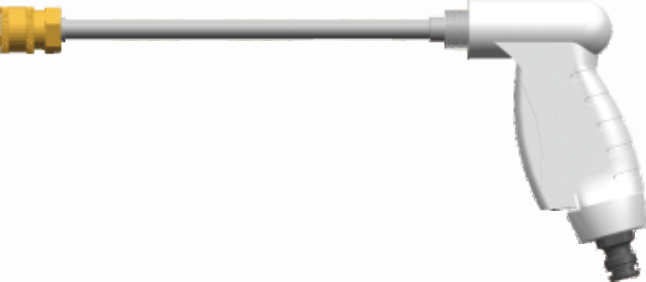
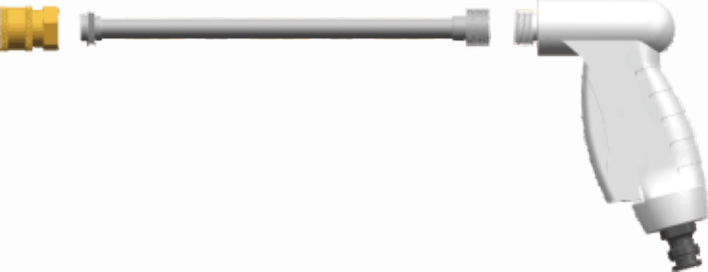
Finishing work
Switch off the pressure washer by setting the pressure switch to ‘O’, disconnect the power supply and press the spray gun trigger to release the pressure in the outlet hose. Remove the inlet hose from the tank and drain the water from it.
Maintenance
- ■Check the spray gun and other parts for damage. If you notice any damage, stop using the pressure washer.
- ■Clean the inlet filter regularly to prevent the water inlet from becoming blocked.
Troubleshooting
Before checking the connections and cleaning the inlet filter, switch off the pressure washer and disconnect it from the power supply. Before changing the nozzle or disconnecting any connections, release the pressure as described in ‘Finishing work’.
| Problem | Possible cause | Solution |
|---|---|---|
| Pressure washer does not start | Discharged battery (C10B) | Connect a charged, compatible battery. |
| Pressure washer does not start | No power supply (C10) | Check the power supply, switch and connections. |
| Pressure washer does not start | Incorrect supply voltage (C10) | Ensure that the supply voltage is within ±5% of the rated voltage. |
| Pressure washer does not start | Temperature too low | Switch off the pressure washer and increase the ambient temperature. Use the pressure washer at a temperature of 5–50 °C. |
| Pressure is too low | Air in the hose | With the pressure washer switched off, remove the nozzle. Then start the pressure washer and press the spray gun trigger until the water flows in a steady stream. |
| Pressure is too low | Blocked water inlet | Clean the inlet filter. |
| Pressure is too low | Contaminants inside the system | Have the device repaired by the service centre - submit a request at wipcool.pl/serwis. |
| Water leak | Leaking connection | Check the inlet hose connection, disconnect and reconnect the quick-release coupling. Tighten the leaking connector. |
| Water leak | Damaged seal (O-ring) | Replace the seal. |
| Noise during operation | Air being drawn in | Check the water level in the tank and the position of the inlet hose. |
| Noise during operation | Damaged internal parts | Stop using the pressure washer. Have the device repaired by the service centre - submit a request at wipcool.pl/serwis. |
Waste electrical and electronic equipment
- 01The crossed-out wheeled bin symbol means that the used device must not be disposed of with other waste.
Under applicable waste electrical and electronic equipment regulations, products marked with the separate collection symbol must not be disposed of with other municipal waste. Because they contain hazardous substances, electronic products that are not sorted separately may be harmful to the environment and human health. Proper separate collection of waste electrical and electronic equipment prevents adverse effects on the environment.
By taking waste equipment to a collection point, the user contributes to its reuse, recycling and recovery.
Recycling - one method of protecting the environment. The process of recovering substances from waste that can be reused as raw materials.
Waste utilisation - the use of waste that has lost its utility value, such as plastics, paper and cardboard, as secondary raw materials (also commonly understood to include its destruction).
Information on the collection system for waste electrical and electronic equipment
- ■Waste electrical and electronic equipment must not be disposed of together with other waste.
- ■The collection of incomplete electrical and electronic equipment and parts from waste equipment is prohibited.
- ■A distributor delivering equipment intended for households to a purchaser is obliged to collect waste equipment from households free of charge at the place of delivery, provided that the waste equipment is of the same type and performs the same function as the equipment delivered.
- ■The user may hand over waste equipment to a waste equipment collector, a treatment facility or a municipal waste collector in the municipality.
- ■Information on collection points is available on the Public Information Bulletin (BIP) websites of regional, city and municipal offices.
Service and documents
Before submitting a service request, prepare:
- ■Model - found on the device rating plate and on the invoice.
- ■Serial number - if there is none, provide the production number (e.g. 11/2025), usually found on the underside of the device.
- ■Proof of purchase - an invoice or receipt from an authorised distributor.
- ■Description of the fault - what is happening, since when and under what conditions.
You can submit a service request at wipcool.pl/serwis. You will also find the warranty terms there.