
 Distribution PL · 4REF
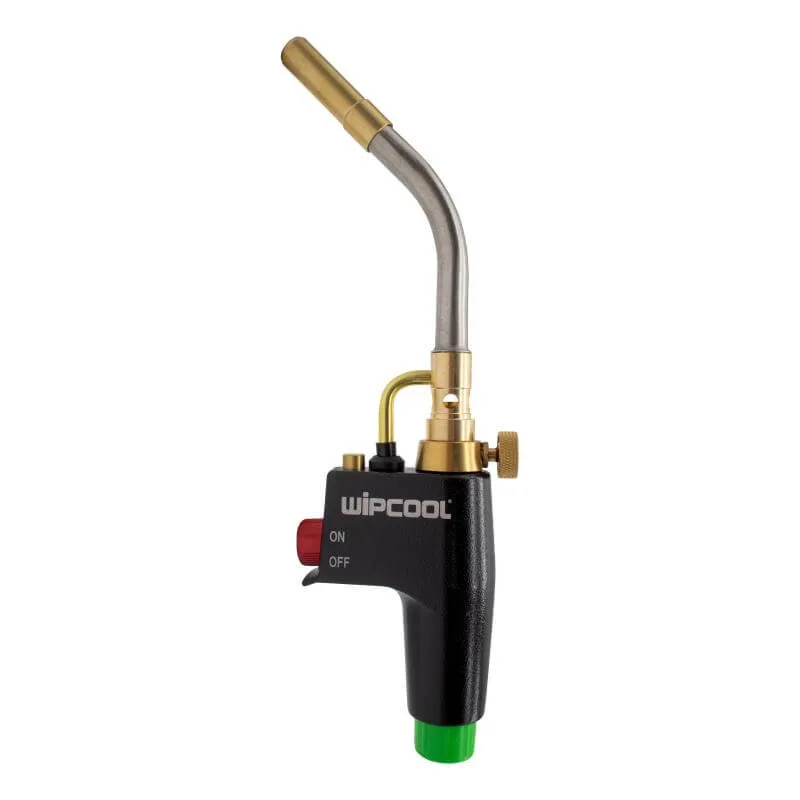
Wipcool HT-1 / HT-2 / HT-3 user manual
The Wipcool HT-1, HT-2 and HT-3 brazing torches are powered by propane or MAPP® gas from a cylinder. They have trigger-operated ignition and a flame control valve.
The user manual is an integral part of the product. Please read this manual carefully and follow all instructions strictly.
General information
Wipcool products are designed for professional use by qualified air conditioning and refrigeration engineers. As the manufacturer, Wipcool stipulates that our products should only be operated by suitably qualified and trained personnel.
- ■Observe all local safety regulations and general safety standards when using the Wipcool HT-1, HT-2 or HT-3 brazing torch.
- ■The user manual should be kept near the product so that personnel can access it easily at all times.
- ■Before use, qualified personnel should read the user manual carefully and understand all the instructions it contains.
- ■The manufacturer accepts no liability for any damage resulting from improper use, failure to follow the user manual, lack of personnel qualifications or any unauthorised modifications to the product.
- ■The general terms of sale set out in the sales documents apply.
Symbols and conventions
Signs and markings used on the product and in the manual:
- 01
 Warning - read the text in the box next to the symbol.
- 02
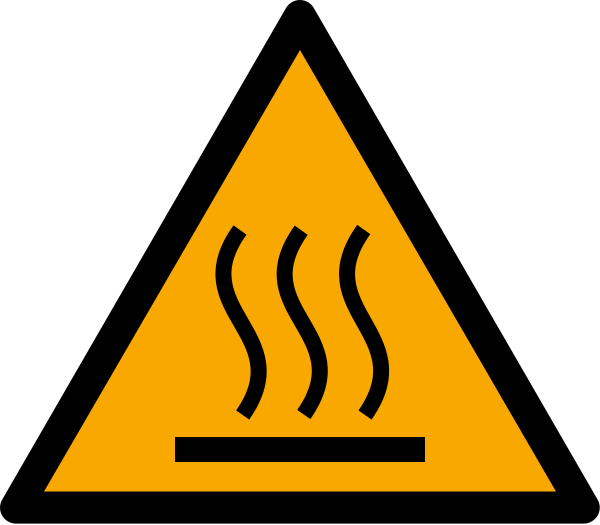 Hot surface - wait for it to cool before touching.
- 03
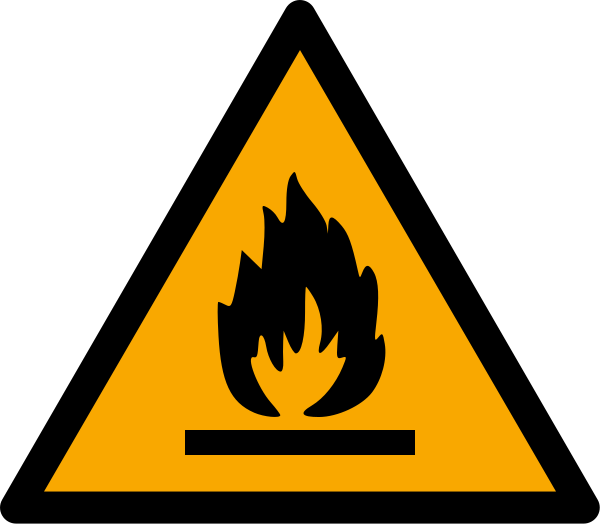 Flammable material - fire risk.
- 04
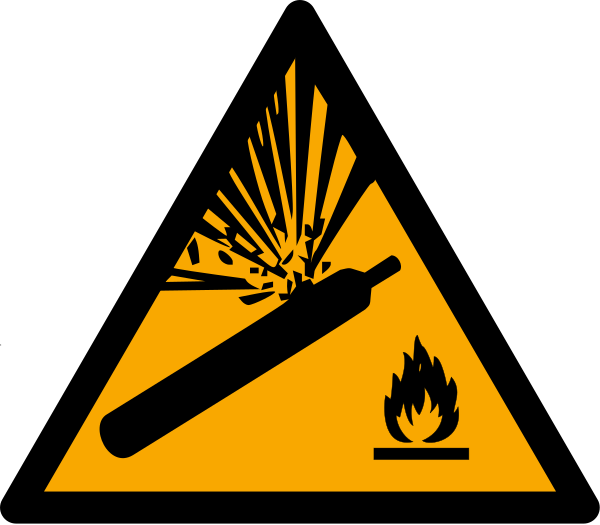 Pressurised gas cylinder.
- 05
 Before starting work, read all safety and installation instructions carefully.
- 06
 Wear eye protection.
- 07
 Notice - risk of product damage or an incorrect result.
Safety information
- ■When the torch is not in use, disconnect it from the cylinder, close the flame control valve and set the ON/OFF switch to OFF.
- ■Use the torch in a well-ventilated area, preferably outdoors. Avoid inhaling vapours.
- ■Do not drop the torch or cylinder, and handle them carefully.
- ■Do not look into the torch tip outlet. Do not point the torch at yourself, other people or objects not intended to be heated.
- ■Do not leave the lit torch unattended.
- ■Keep water or a fire extinguisher at hand in case of fire.
- ■Keep the torch out of the reach of children.
- ■Do not modify or repair the torch yourself.
Technical specifications
| Parameter | HT-1 / HT-2 / HT-3 |
|---|---|
| Gas | Propane or MAPP gas |
| Connection | CGA 600 |
| Gas mass in cylinder | 400–454 g |
| Maximum gas pressure | 25.9 bar |
| Maximum flame temperature (MAPP gas) | Over 1900 °C |
| Soft soldering of copper tube (MAPP gas) | Diameter up to 50 mm |
| Brazing of copper tube (MAPP gas) | Diameter up to 25 mm |
| HT-2 gas hose length | 1.5 m |
| Torch storage temperature | -20 to +60 °C |
Device diagram
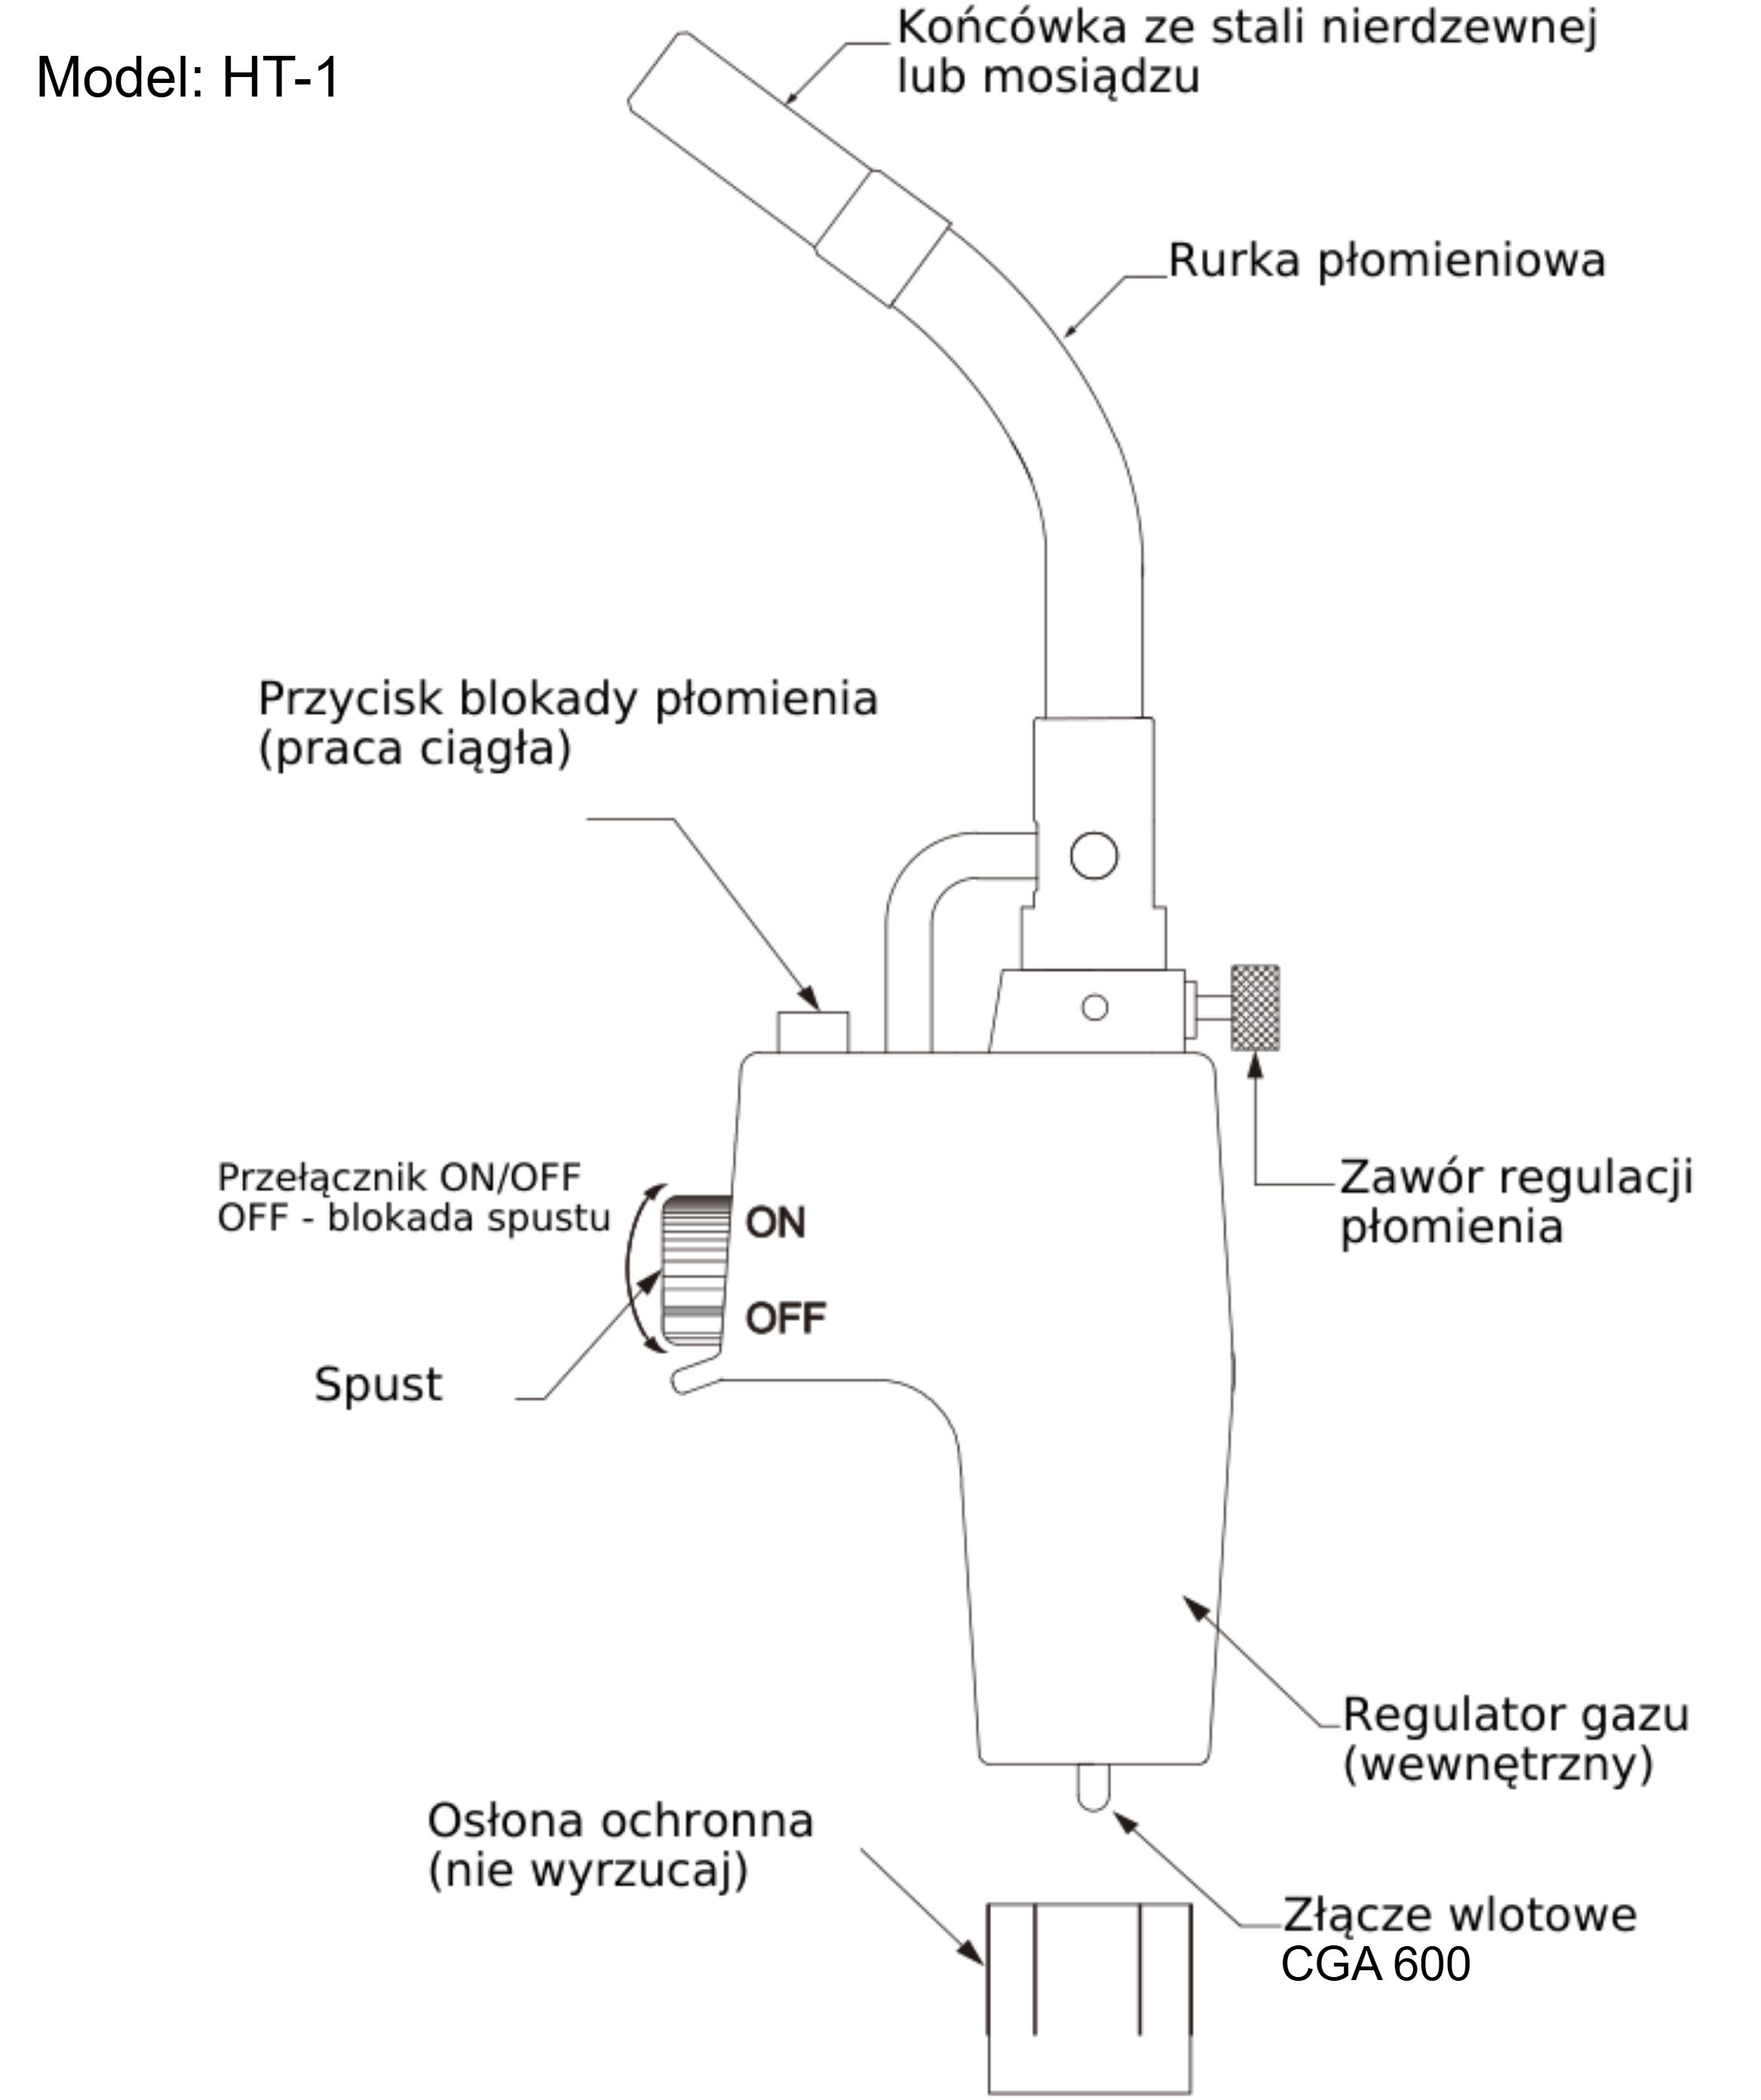
HT-1
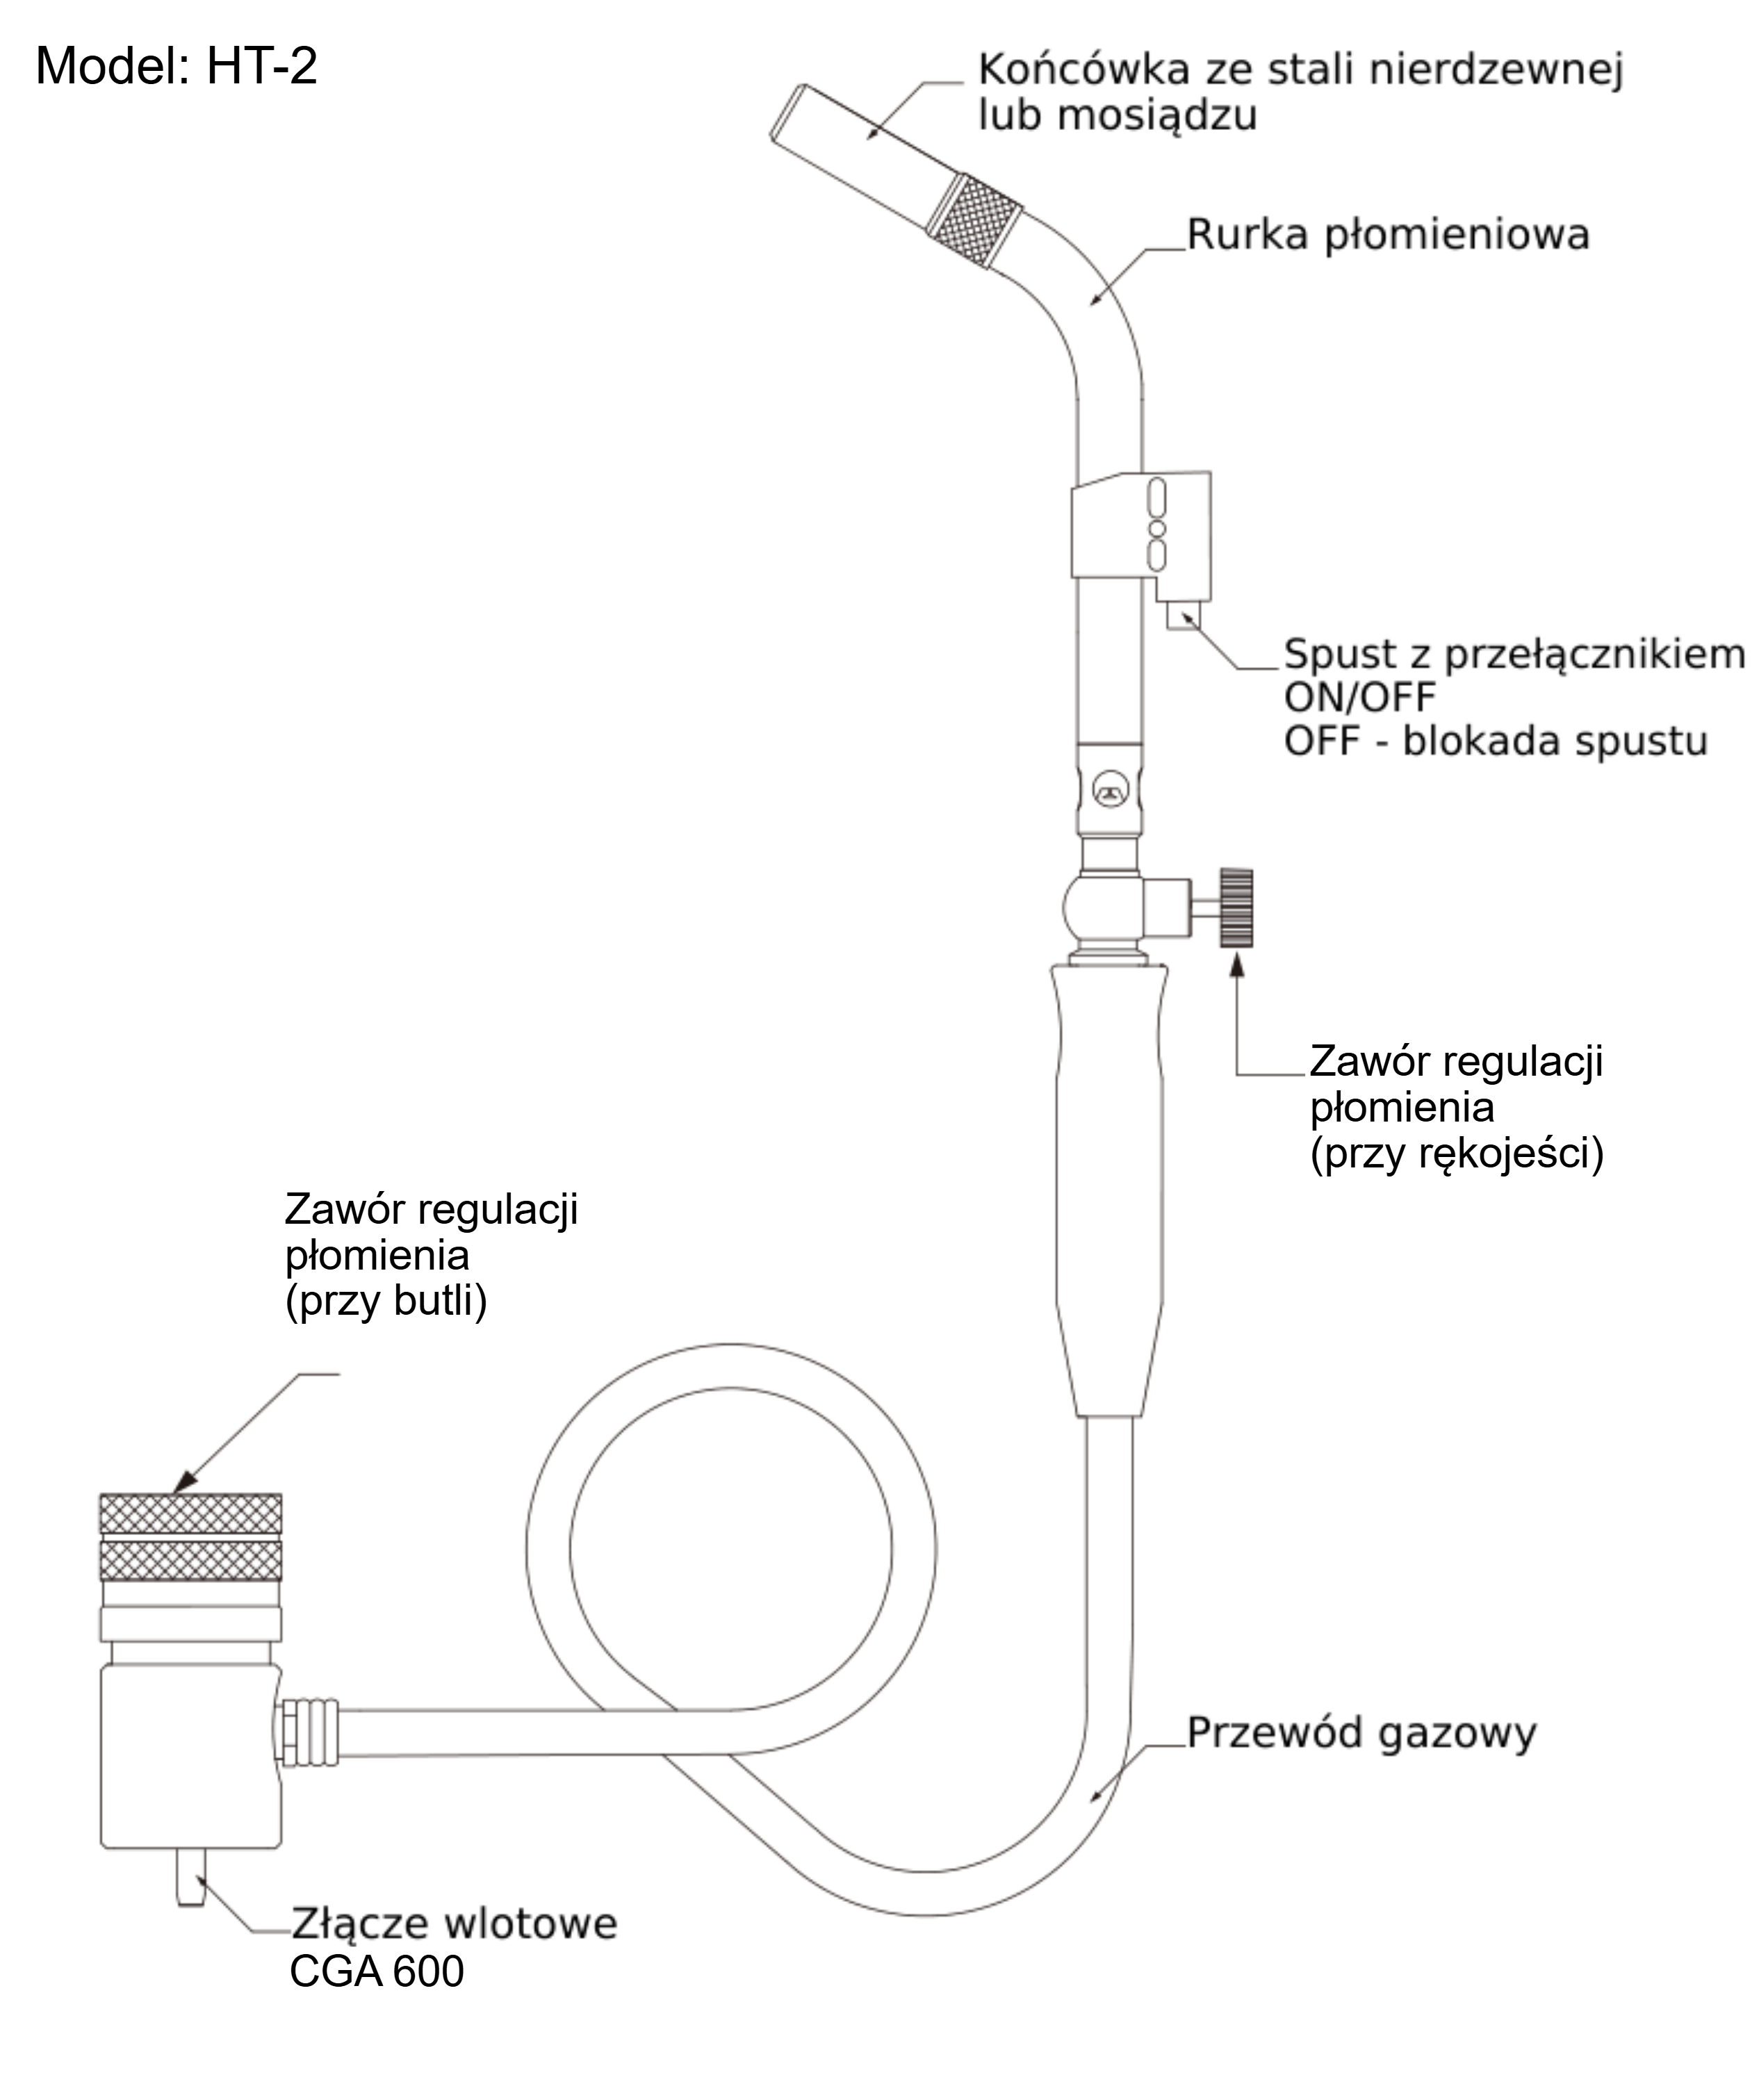
HT-2
HT-3
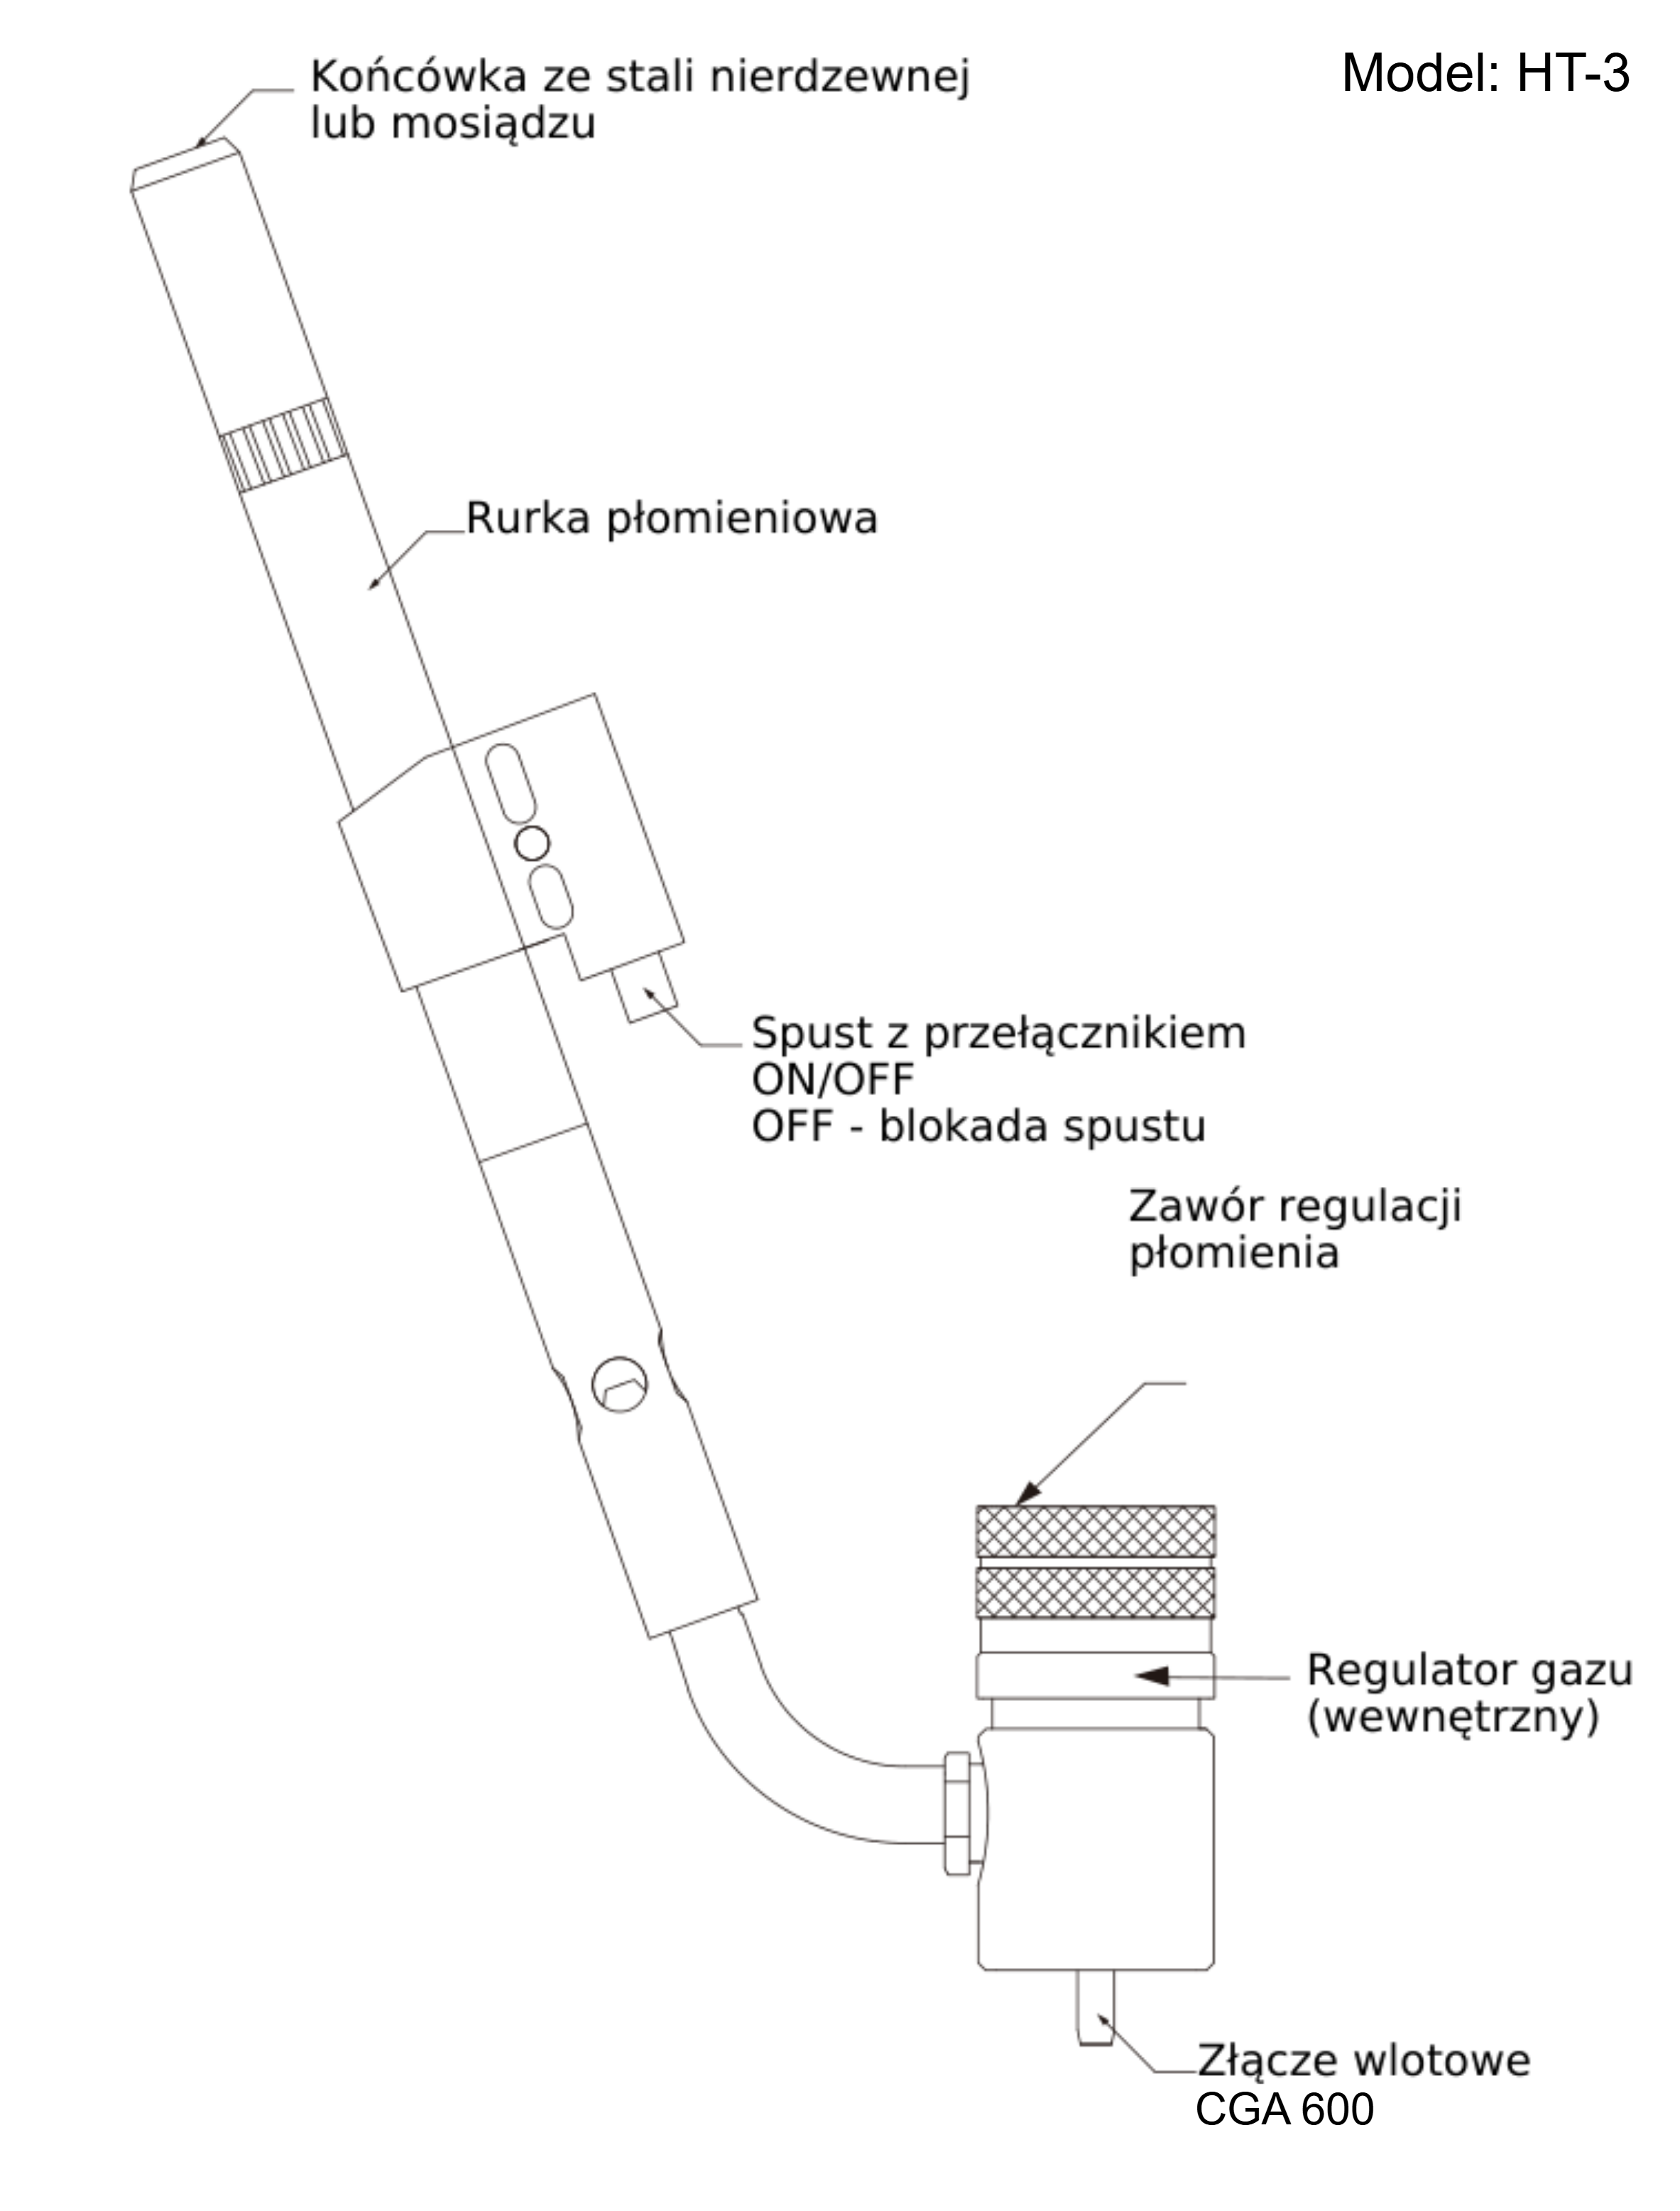
ON unlocks the trigger, and OFF engages its safety lock. The flame lock button on the HT-1 is used for continuous operation.
On the HT-2, the CGA 600 inlet connection is at the end of the gas hose. Two flame control valves are located at the handle and at the CGA 600 inlet connection.
Package contents
After opening the package, check that all components are present and in good condition. Report any transport damage to the seller.
- ■Brazing torch (HT-1 with protective cover).
- ■User manual.
Transport and storage
Transport the torch in its original packaging to protect it from damage.
Assembly
- 01Close the flame control valve by turning the knob clockwise until it stops. Tighten by hand without excessive force.
- 02Set the ON/OFF switch to OFF to engage the trigger safety lock.
- 03Screw the propane or MAPP gas cylinder into the CGA 600 inlet connection. Turn the cylinder clockwise.
Leak test
- 01After connecting the cylinder, apply leak detection fluid or soapy water to the connection between the cylinder and the CGA 600 inlet connection.
- 02If you detect a leak, replace the cylinder and check for leaks again.
- 03If the leak persists, the CGA 600 inlet connection may be leaking. Do not use the torch.
Operation
Lighting the torch
- 01After carrying out the leak test, put on safety glasses, gloves and protective clothing. Point the torch away from yourself, other people and objects not intended to be heated.
- 02Set the ON/OFF switch to ON. Open the flame control valve by turning it one turn anticlockwise.
- 03Slowly press the trigger to allow gas to reach the tip. Press the trigger fully to ignite the flame.
- 04After ignition, adjust the flame using the flame control valve, as described below.
Opening the flame control valve too little or too far makes ignition difficult. If you have difficulty, turn the flame control valve knob slightly.
Adjusting the flame
Figures 4–6 show the flame shape; the colours are described in the text.

A correct flame is compact. The dark blue cones extend approximately 1.5 times the tip diameter beyond its outlet.

When there is too little gas, the flame is weak. The pressure is too low to produce the correct mixture, and the tip overheats. The dark blue part of the flame is barely visible at the outlet, and the flame has a pink tint.

When there is too much gas, the dark blue part of the flame extends beyond the tip, and combustion occurs outside the flame tube.
Heating technique
The maximum heating zone is at a distance of 1–2 tip diameters from the outlet. Holding the torch too close to or too far from the object reduces heating. Positioning the flame at the angle shown in Figure 7a increases heating of the object.
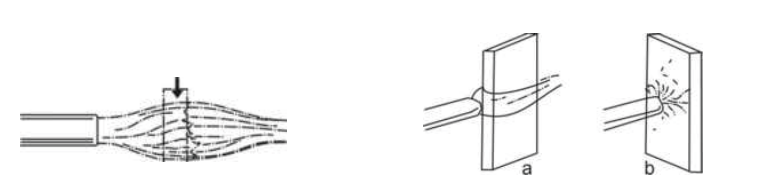
To reduce heating, move the flame away from the object or use propane instead of MAPP gas.
Continuous operation - HT-1
- 01With the torch lit and the ON/OFF switch set to ON, press the trigger fully, then press the flame lock button.
- 02Hold the flame lock button and release the trigger.
Switching off the torch
- 01Release the trigger to extinguish the flame. If the flame lock is engaged on the HT-1, press the trigger again and release it.
- 02Unscrew the cylinder anticlockwise and disconnect it from the torch.
- 03Point the torch away from yourself, other people and objects, then press the trigger to release any remaining gas.
- 04Set the ON/OFF switch to OFF and close the flame control valve.
Service and documents
Before submitting a service request, have the following ready:
- ■Model - shown on the product label and invoice.
- ■Serial number - if there is none, provide the production number (e.g. 11/2025), usually found on the bottom of the product.
- ■Proof of purchase - an invoice or receipt from an authorised distributor.
- ■Description of the fault - what is happening, when it started and under what conditions.
You can submit a service request at wipcool.pl/serwis. You will also find the warranty terms there.